
Getting to the gym can be hard, so I love rewarding myself with fun and creative workout clothes. One of my favorite things about my Cricut is being able to create my own customized clothes. I created four different workout shirts, two for my and two for my older daughter to wear to soccer practice. They all came together quickly and are a perfect way to show your geeky side while getting fit! I used athletic shirts for this project and I was a little worried the iron-on would have issues adhering to the different material but they all turned out great!

Training for the Quidditch World Cup Shirt
For this project you will need:
- a blank athletic shirt
- Iron-on in white (You can use SportFlex if you are worried about the material)
- Iron -on in yellow
- a Cricut
- Cricut EasyPress or Iron
- Cricut Brightpad
To make life really easy, you can find my cut files here. Follow the instruction below for resizing or creating from scratch.

DIY Doctor Who Athletic Shirt
For this project you will need:
- a blank athletic shirt
- Iron-on in white (You can use SportFlex if you are worried about the material)
- Iron -on in blue
- a Cricut
- Cricut EasyPress or Iron
- Cricut Brightpad
To make life really easy, you can find my cut files here. Follow the instruction below for resizing or creating from scratch.

DIY Lord of the Rings Athletic Shirt
For this project you will need:
- a blank athletic shirt
- Iron-on in black(You can use SportFlex if you are worried about the material)
- Iron -on in yellow
- a Cricut
- Cricut EasyPress or Iron
- Cricut Brightpad
To make life really easy, you can find my cut files here. Follow the instruction below for resizing or creating from scratch.
Zombie Apocalypse Workout T-Shirt
For this project you will need:
- a blank athletic shirt
- Iron-on in black (You can use SportFlex if you are worried about the material)
- Iron -on in red
- a Cricut
- Cricut EasyPress or Iron
- Cricut Brightpad
To make life really easy, you can find my cut files here. Find the full tutorial for this shirt here.

Open up and sign into Cricut Design Space. Your screen will look similar to the above. There will be a top banner, followed by a banner of your latest projects. You can see some of my most recent projects on the screen above. Below that will be the Make it Now projects. Hit the green plus sign next your projects to get started.
Add text by hitting the text button in the far left menu. A text box will pop up and you can type what you want the project to say. For this project, you will type each line in a new text box as follows.
You may Also Like: Harry Potter Tea Cup Planters

For the Quidditch Shirt Type these words on the following lines. I used the Font (Brewery No 2 Paneuropean Medium)
Training
For The
Quidditch
World
Cup
For the Doctor Who shirt type these words on the following lines. I used the Font (Belwe Std Medium).
Run like the Doctor
Just Told You To
For the Lord of the Rings shirt type these words on the following lines. I used the Font (Chloe Whimsy)
I Workout So I Can Carry The Ring To Mordor
Font
Change the fonts of each line by clicking on the line and then selecting a font from the drop-down menu in the top left corner. I have included the fonts for each shirt above.

Using Cricut Images
Your new project will open up for you as a blank grid. Click on the images tab on the left-hand side of the screen to start this project. Search for the images you want and then insert them into your project. I used the following images:
Harry Potter:
- Circle (#M369879)
- Wings (#M442DF)
Lord of the Rings
- Ring (#M331BB)
Doctor Who
- Phone Booth Iron-on (#MCE35B7)
Resizing
Once you have inserted the text and image into your project you can resize it and move it around. Resize the image by clicking and dragging on the double arrow symbol that appears when you have the image selected. There is also size box at the top of the screen that lists how big the text or image is, you can adjust the width and height here if you don’t want to manually toggle the blue arrow key.
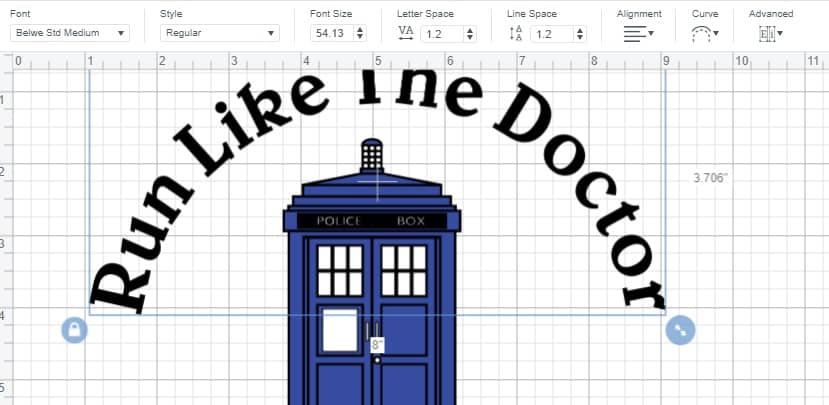
Curve Tool

Select the text you want to curve and slide the diameter bar to the right to curve your text down and to the left to curve it up. Slide the bar until the text looks like you want it. For this shirt, we are just curving the words slightly around the slippers.
Layering Heat Transfer
One of my favorite features of Cricut Design Space is that when you change the colors of elements in the layers pallet, the program will assume that you want to cut those items out of a different kind of material. To change the colors of something, go over to the far right side and find the element you want to change. For text boxes, they are usually represented by the first letter in the line of text. For images, if will show a small version of the image. Click on the colored black dot and a color menu will pop up and you can change it to another color. Change the colors of the elements to the colors you are actually going to use, this will help Design Space know how many colors of vinyl you are going to use.
Here are the layers and colors for these athletic shirts:
Harry Potter:
- Layer 1 – Circle – gold heat transfer
- Layer 2 – Words and Wings- white heat transfer
Lord of the Rings
- Layer 1 – Ring- yellow heat transfer
- Layer 2 – Words- black heat transfer
Doctor Who
- Layer 1 – words and 1st layer of phone box – black heat transfer
- Layer 2 – 2nd layer of phone box- blue heat transfer
- Layer 3- 3rd layer of phone box- white heat transfer
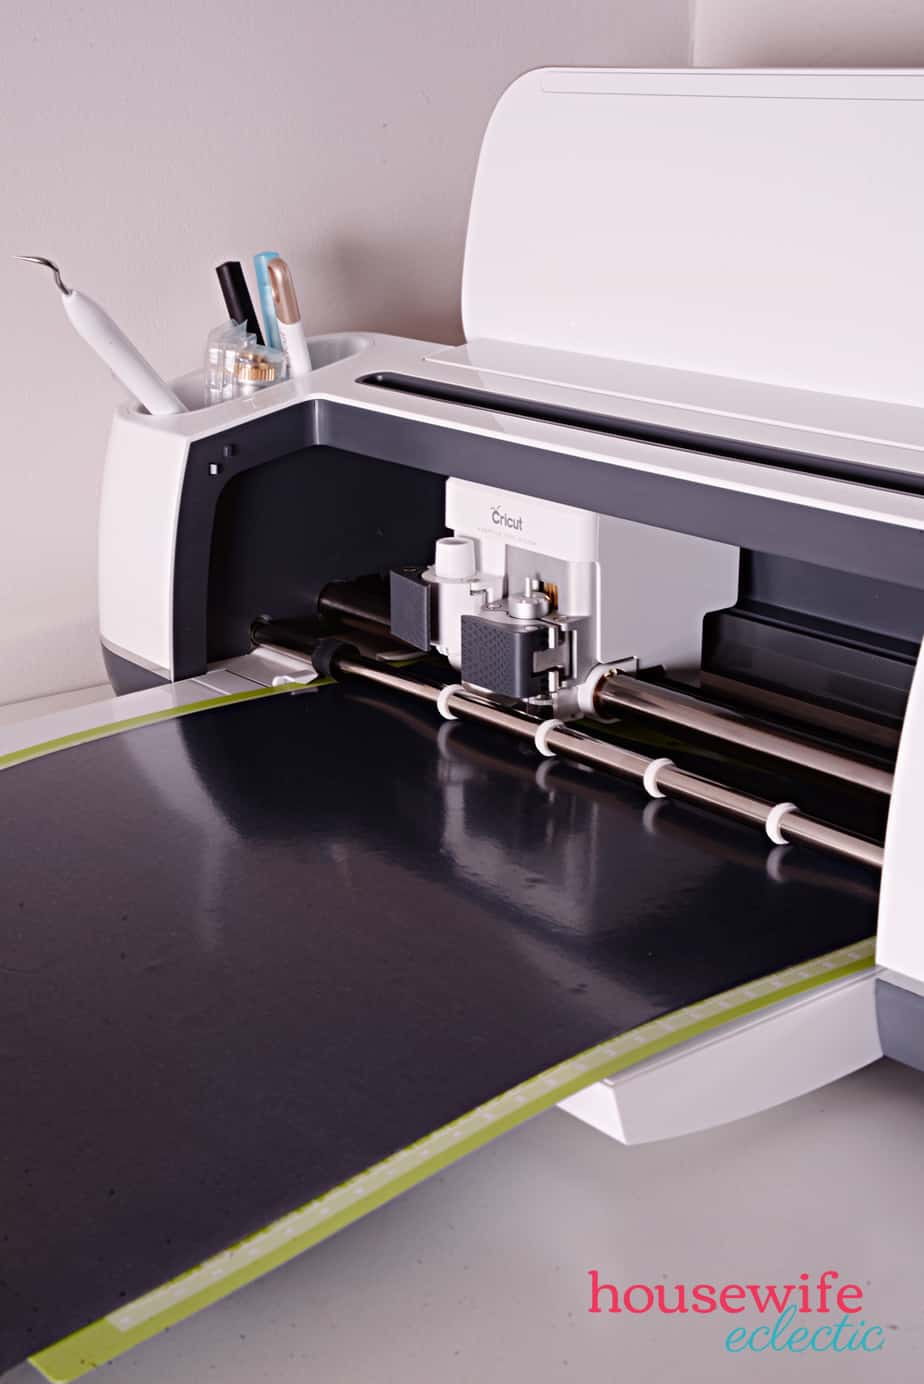
When your project looks the way you want it, it the Make It button in the top right corner of the screen. Hit the mirror image button on the left-hand side of the screen. Make sure you hit the mirror image button for EACH of the mats you have in this project. To do this, you just click the mat to select it and then hit mirror. Start with the 1st color, place the iron-on shiny side down onto your Cricut mat and then load your mat into your machine. Hit continue and then select your material in the drop down on the screen. In this case, we are using regular iron-on
Lay your first piece of heat transfer shiny side down on the mat. Slide it under the feet of your machine and hit the flashing go button. After it is done cutting, pull the mat out of the machine and repeat with all of the colors.
You May Also Like: Harry Potter Sorting Hat Cupcakes
Peel the heat transfer off of your mat and then weed (peel apart) the heat transfer until just your design remains on the sticky backing. This is where you use the Cricut BrightPad to help you see any cut lines and weed the project properly. Cut apart any of the designs that have multiple pieces in one sheet, so you can place them on the shirt separately. Make sure when you cut apart the designs that you trim the carrier sheet (sticky clear sheet) really closely.
You May Also Like: Having Fun Isn’t Hard When You Have a Library Card Shirt
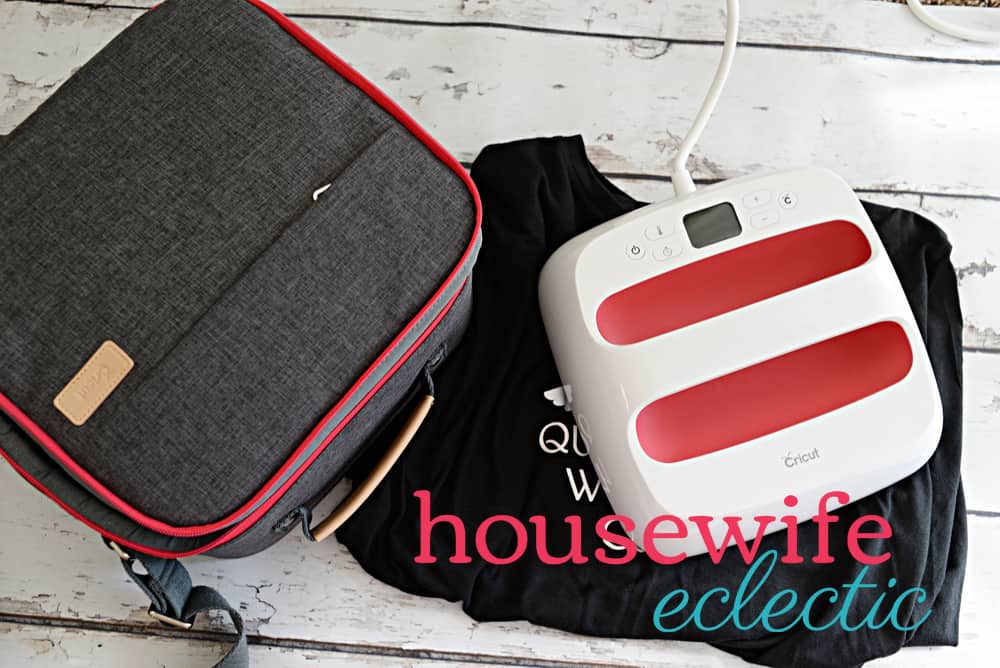
EasyPress
The EasyPress is Cricut’s answer to the downsides of a regular heat press. It has a large even surface which you use to get even pressure on your design, but it is much smaller and much more portable and lightweight than a typical heat press and now each EasyPress has it own tote! The tote has the room to take your EasyPress 2, your safety base, EasyPress mat and other small accessories with you all in the same case. It is made of heavy-duty heat resistant material and features pockets to hold other accessories. It has a strong velcro strap to keep the machine in place on the go, which I LOVE. I have never had my machine shift in all the times I have taken it places with me.
Add the first layer of iron-on face down on your shirt. You will be able to see through the plastic backing so you can put your project together just the way you want it. Just make sure that none of the letters or images are touching the plastic backing of another element or it will fuse to that instead of the shirt. Heat your iron up to the hottest setting or you EasyPress to 305 degrees. Iron straight onto the plastic, making sure each element of the design gets 30 seconds of pressure and hit. Start pulling up the plastic backing and if any of the elements pull up at all, put the plastic back down and iron that area again. Peel the plastic sheet off and place down your second layer of heat transfer. Place those items where you want them on the shirt and then place an iron protective sheet over the entire front of the shirt and iron the design again, then peel the plastic off. Repeat these steps.
How do you get yourself to the gym every day?
This is a sponsored conversation written by me on behalf of Cricut. The opinions and text are all mine.
Leave a Reply