This post is sponsored by Oriental Trading. All ideas and opinions are my own.

Last year I focused all my time and energy on making Harry Potter Christmas ornaments. I had such a great time making a variety of ornaments on one theme that I decided this year I would do it again. After our Nightmare Before Christmas Family Costume at Halloween, I knew that we needed a little more Jack Skellington and Sally in our life so I created these. These ornaments are incredibly easy if you use the photo ornaments from Oriental Trading’s Christmas section, the ornaments come completely apart so you can slip your image into it without rolling and then trying to get the image to unroll again later. My kids absolutely loved how these turned out and can’t wait to see what the next round of Nightmare Before Christmas Ornaments end up being.

Nightmare Before Christmas Ornaments
You will need:
- Photo ornaments from Oriental Trading
- cardstock in various colors
- black vinyl or a way to print
- a way to cut the vinyl
- markers
- scissors

Open one of the ornaments by pulling the cap off and separating the ornament into two pieces. Lay the ornament half on top of the paper you want to use and trace it. Then cut out the tracing.
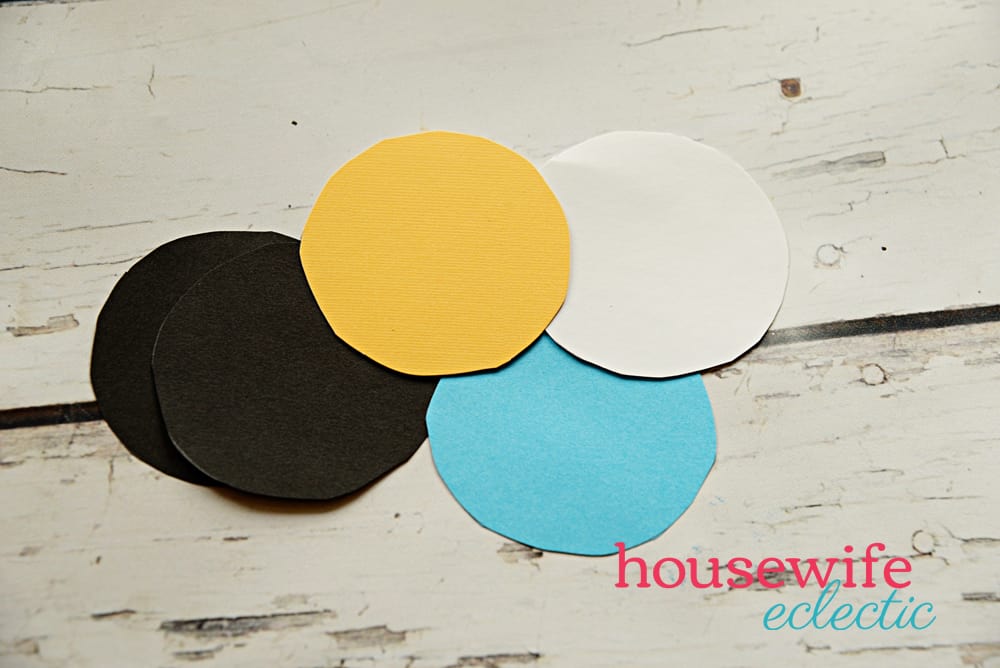
I ended up using yellow, white and turquoise paper, all with black vinyl on top. If you don’t have a way to cut vinyl decals, you could always print the characters into circles and then cut them out.
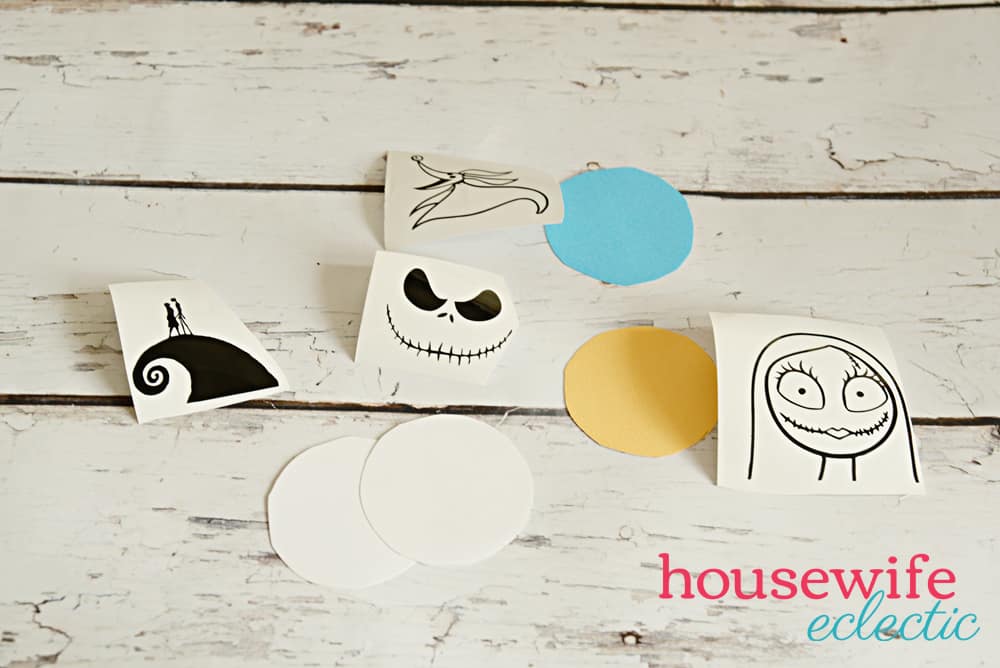
I cut out five different styles. Jack’s Face, Sally’s Face, Zero, Oogie Boogie and Jack and Sally together on the hill. Find instructions for the individual ornaments below.

I put Sally’s face on Turquoise paper, Jack and Zero on white and the hill scene and Oogie Boogie on yellow.

For this ornament I searched for a Silhouette of Jack and Sally on the hill. The search came back with a ton of options and I picked the one I like the best. I upload the design to Cricut Design Space and resized it to be less than 2.5 inches wide because that is how wide the ornament was. (If you need to know how to do this, check out THIS post.) After I cut out the vinyl I peeled the design off the sheet like a sticker and placed in on the yellow paper, I think put the paper in the ornament and trimmed the edges.

For Jack’s Face, I followed all of the steps above, making sure that Jack’s face was less than 2.5 inches and the weeding it out of black vinyl. I chose to not use any sort of transfer tape and moved each element of Jack’s face to the white circle individually. I found this was easy enough as long as you remembered to put his nostrils close to his eyes.

For Oogie Boogie, I followed the same steps as the above ornaments but I also made Oogie Boogie just a little bit bigger so his silhouette would fill the entire ornament and then I trimmed off any excess so there wasn’t any yellow on the outside of the black.

For Sally, the major difference was I colored her lips red with a marker after I place the vinyl on the paper. In the future, I want to give her some yarn hair too!

For Zero, I followed all of the above steps but I also colored Zero’s nose orange to represent his little pumpkin nose.

Do you have any Nightmare Before Christmas fans in your house?
These are really cute and seem really easy to make. Think we have everything but the ornament part. They are on sale now so that works.
Homemade ornaments are the best and I love how you explained each step in detail. I may make some myself now that I know how. Such an easy and cute project!
I just love how these turned out! You did such a great job. I’ve always liked Oriental Trading Company!
Well those are a lot of fun! Believe it or not I have yet to see that movie. I know we would have a lot of fun seeing that movie though. I love how creative these are!
We try and make ornaments every year as a family. It’s a little tradition. I know that my girls would love these!
Oh these are too cute! I love those classic characters and those photo ornaments you found worked really well.
These are super cute ornaments for Nightmare Before Christmas fans. The OOgie Boogie one is my favorite.
These are such a fun and unique holiday craft to do with the family! Thank you for the cool idea!
Awesome homemade ornament! I’m trying to find something easy for my activity advent calendar for making ornaments and this may fit the bill.
I have a nightmare before Christmas flash drive. These ornaments would really look cool and be a different spin to the regular Christmas decors.
These ornaments look so amazing. I love the way you made them. My kids would love to help me make a batch of these!
These are such adorable ornaments! My boys are still a little freaked out by the movie but I’m hoping that in the next few years we can add it to our holiday movie roll!
How fun are these. They are so unique but so daggone cute. DIY ornaments are so creative.
These ornaments are really unique! I can’t believe they are that easy to make. However, we try to keep our ornaments with a joyful theme, so I may try a different design. I will share this post with my friends though. They may be interested to make these designs.
Woa. These look so easy to make!! And I have ALL the supplies in my office right now. Thanks for sharing.
Those are pretty cool and so crafty. A friend of mine did similar ornaments and sold it during the secret santa shop at school.
My one friend loves Nightmare Before Christmas. I will have to make her a couple ornaments for Christmas
The ornaments look great. The fun and excitement of making them yourself is on a different level altogether. They are so cute and you are really very creative.
This is so cool! I would love to do the same, however maybe a little related to our family tree. Pictures of us will be inside. I think it would be a lot of fun to do.