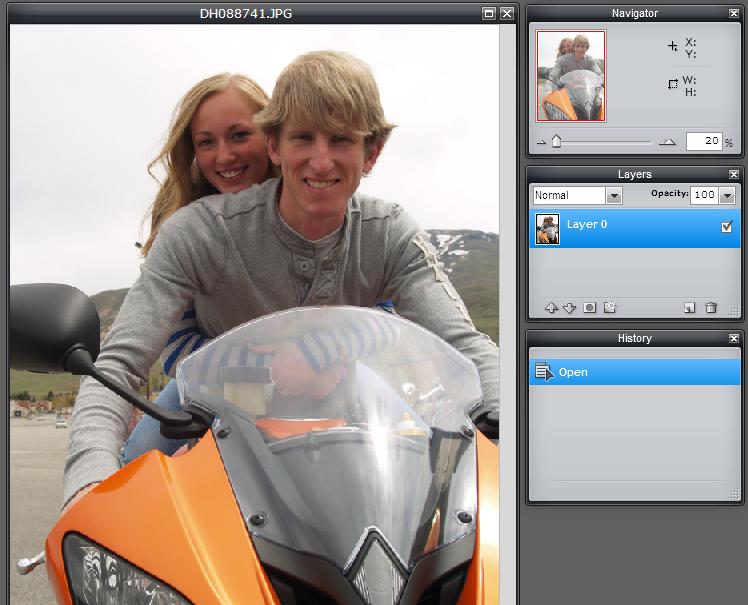
 Next, go to your Tools palette and select the Eraser tool. Yes, it looks like the classic pink erasers you used as a student.
 Once the eraser is selected, go above the Tool palette to where it says “Brush” and click on the number (default:50). This will open the eraser brush options. Unlike Microsoft Paint — as wonderful as it wishes it was — you can choose just about any shape for your eraser. I would recommend using circles because they fit around objects better than other shapes. You will notice there are varying sizes of brushes. The higher the number, the bigger the brush. You can hover your mouse over your picture after selecting a size to see just how big the brush is. You will also notice there are solid brushes and brushes with fuzzy edges (called feathered edges in design-speak). You will use both, but start with a large, solid circle brush to eliminate the majority of the background. Once you have selected your brush, click on an unimportant part of your picture to get started.
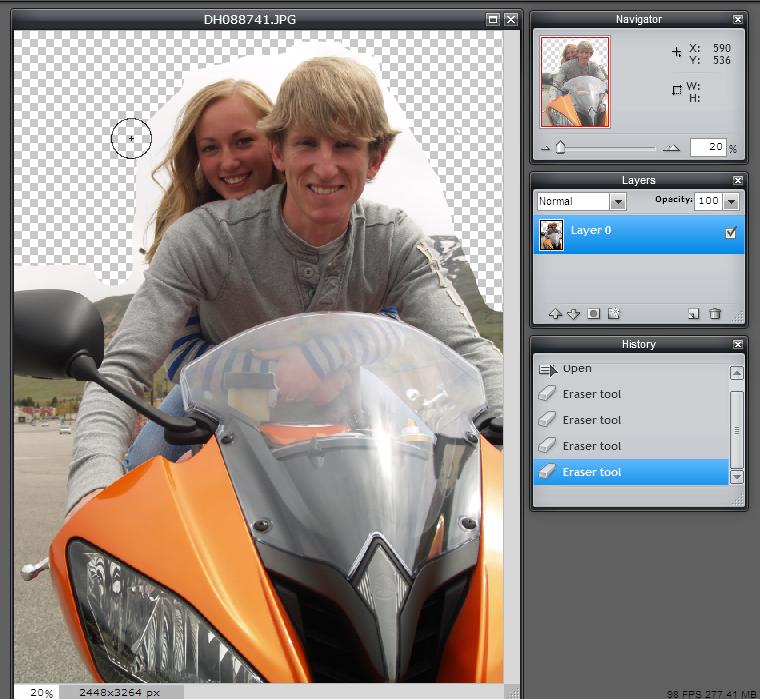
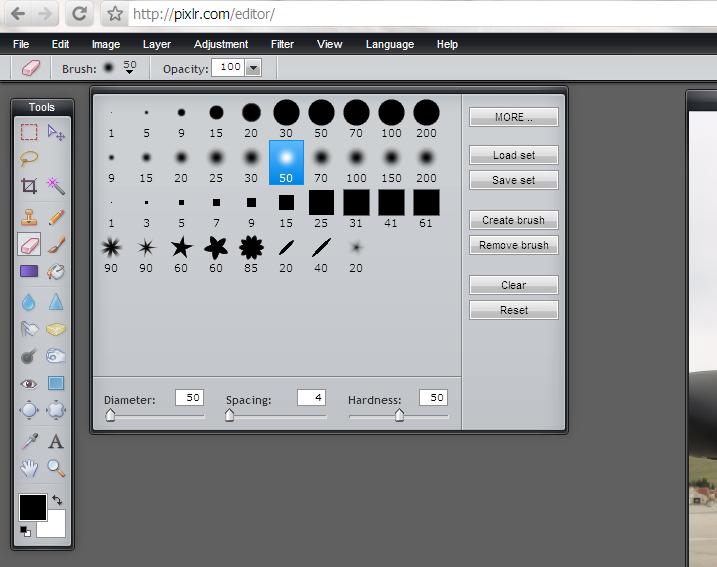 With that large eraser brush, erase the background. Be careful not to go too fast or you might erase the important parts of the photo. As you erase, you will notice a white and gray checkered pattern appearing in the background. This will not actually be in the photo. It is there to represent a transparent background, not unlike the transparencies your teachers used on the overhead projectors.
 Once you’ve erased most of the background, it’s time to get up-close and personal with your photo. Using the Navigator palette, zoom in on the picture with the slider bar to the area you want to edit. You will notice your brush seems much larger now. It’s not, but you’re so much closer to the picture that it seems larger. If it feels too large, go back to the “Brush” options and select a smaller brush. Now, carefully erase along the edges of the important parts of the photo that you want to keep. Be very careful. It’s OK to erase a small part of the picture you want to keep, however don’t cut away too much or make your eraser marks jagged or this will be very obvious to the viewer.
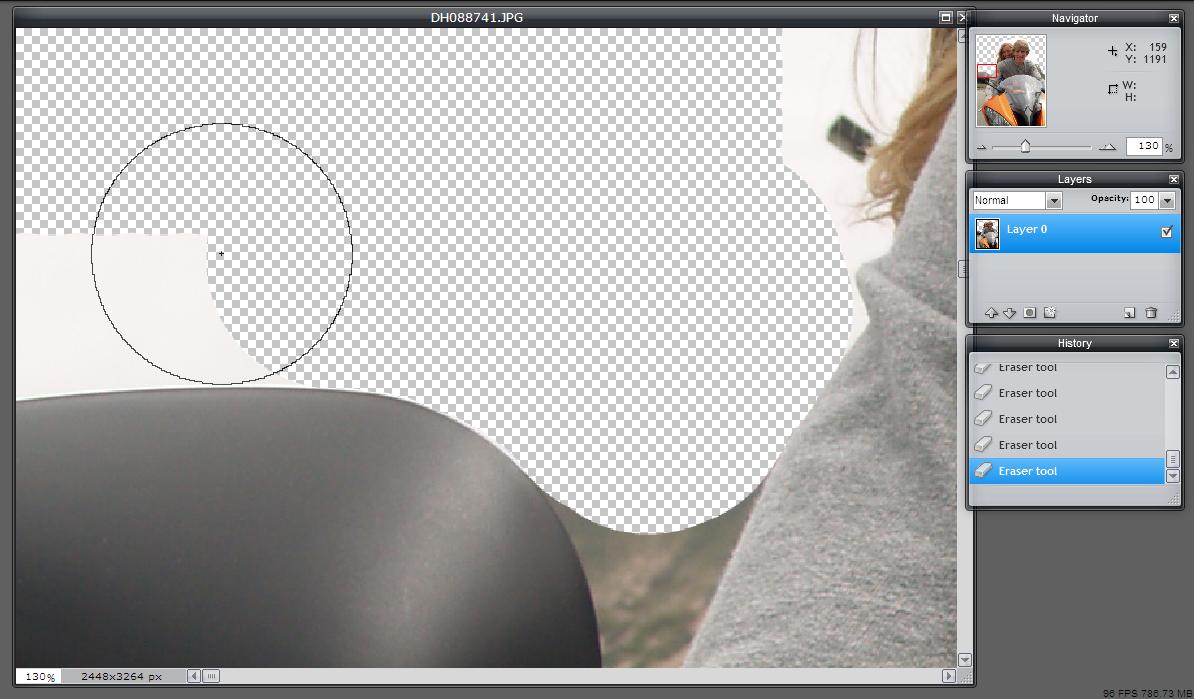 When you are erasing solid objects, like the motorcycle or clothes in this picture, it is OK to use the solid brush. When you get closer to skin and hair, you will want to use one of the feathered brushes. This will make it seem more natural and not so harsh. Play around with it to see what you like best. You can always undo any mistake you make.
 Next, find a background that you would like to put behind the picture you cut out.
 Your background should open in its own window. Go to the Edit menu and select “Select All.” Go back to the Edit menu and select “Copy.”
 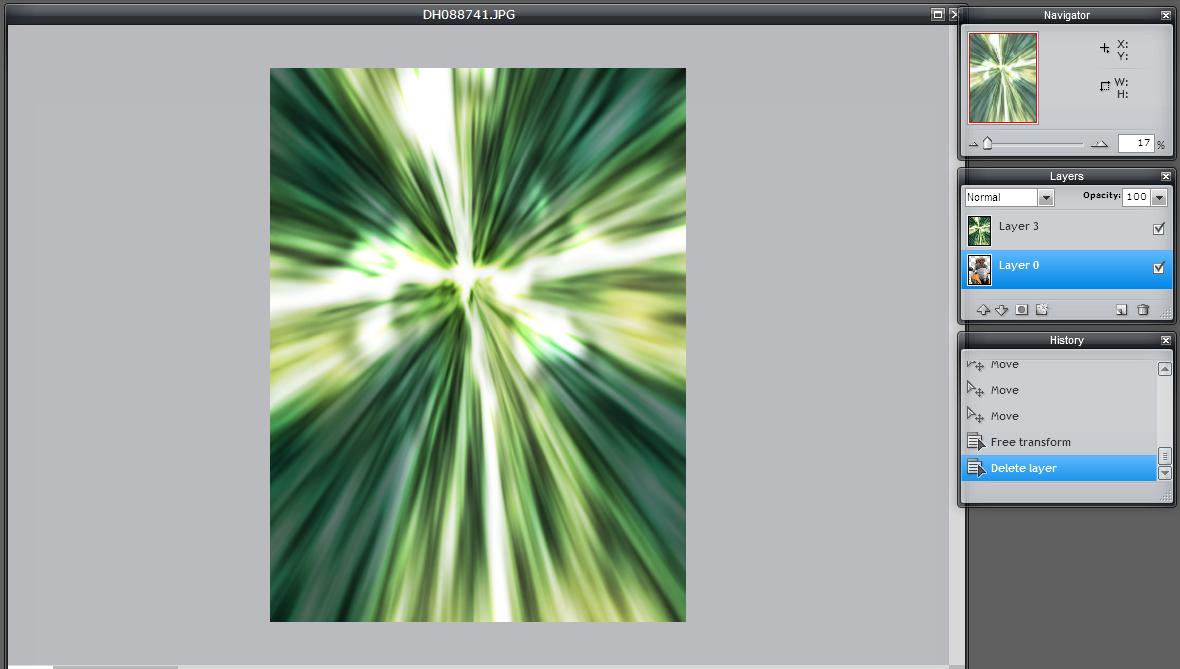 If you look at the Layers palette, you have two layers: your background layer and the layer with your photo. They are in the wrong order. This is easy to fix. Grab the bottom layer and drag it above the top layer. This will put your cut-out image above the background image, which will achieve the effect you want.
 The end result can be seen below. Looks cool, right? This process is not overly difficult, but it does take tremendous amounts of patience. The end result is usually well worth it.
 Try it out yourself. I’d love to see what you come up with. Please share your results by uploading your replaced-background photos at my Flickr group share. (The Flickr group is also a good place to go if you want to see the crazy replaced background photos my husband made for me while we were dating.)Good luck with the editing.
OMG!!!! This tutorial is awesome! thanks 🙂
Stopping by from SITS by the way!
What a great tutorial!
This is awesome. Thanks for sharing. Your MIL stayed with me when she came for the funeral. She loves you guys so much!!!!! She is so proud of you and Seth and BOY of BOY is she proud of that little blondie of yours!!!! It was fun to see her and talk about memories about elementary school.
Thanks for the step by step instructions! This will come in handy.
I've been trying to get Hubby to buy me photo shop but to no avail. This other site looks like a great place to start. Thanks for the tips.
Following You Back!
http://artjourney-gennie.blogspot.com/
Glad I came across your blog. I love editing images but usually don't do photos. Seeing others do editing gives you inspiration tho.
This looks awesome! Thanks for the tutorial! I'm following you back from chubbycheeksthinks.blogspot.com
following you back thanks for the follow
adventuresofthedomesticatedmama.blogspot.com
Thank you for stopping by my blog!
I am following you back! 🙂
Thanks for the tutorial…I had no idea you could do all this. I am still learning all the cool techy stuff and I always have to teach myself. Thanks girl!
Happy Friday! My husband is a computer geek, I mean tech, so I am thankfully covered on this tutorial but I love your last post with the make-overs! I'm dropping by from 3F. Have a great one!
Awesome tutorial! The picture looks great. I will have to try this on some of mine. Your newest follower.
cute final image.
if you don't mind a recommendation – search for a tutorial on using the mask tool with the regular paint brushes. equally as easy as this, but you can erase and paint back in and keep adjusting, rather than the permanence of the erase tool.
Wow, that's fascinating. I'm so boring with my photos – very much a point and shoot girl so it would be fun to get more creative. I didn't know about PIXLR.com so thanks for the tip.
Cool. I'm trying to teach myself Photoshop and that was very helpful!