
Christmas is just around the corner and it is time to start creating gifts, ornaments and my absolute favorite, Baby’s 1st Christmas crafts. Today I have created five different and fun Christmas crafts that you can make to remember your little one’s first Christmas! They are made with all different materials, so there is something for everyone!
Just over a year ago, I upgraded from a Cricut Explore Air 2 to a Cricut Maker and I have been so thrilled with the upgrade. All of these crafts, including felt with small cuts, balsa wood and more mainstream materials like iron on and glitter iron on, were all made with the same machine! The Cricut Maker is such an easy and versatile machine, I even switched materials in the same project with no problems. The Cricut Maker is able to do this because of its new adaptive tool system which has 10x more power than other Cricut machines. What does that mean? You have a commercial grade machine in your home! This adaptive tool system has allowed Cricut to add the Rotary Blade for fabric and the knife blade for thick materials like basswood and chipboard! There is a new gear that allows the Rotary Blade to cut just like you would by hand with a rotary blade. The new gear gives the machine complete control over the blade, letting it rotate and cut the angels it needs. From tulle and crepe paper to sequined fabric, this blade is designed to cut all of it with precision. While I loved my Cricut Explore Air 2, it doesn’t have the capabilities to use the rotary blade or knife blade.
If you want to know more about the differences between the Cricut Explore Air 2 and the Maker, you can read my full post here: Everything You Need To Know About The Cricut Maker
The Cricut Maker is hands down the most versatile crafting machine on the market! Just check out some of the things I was able to make all with one machine!
5 Baby’s First Christmas Crafts

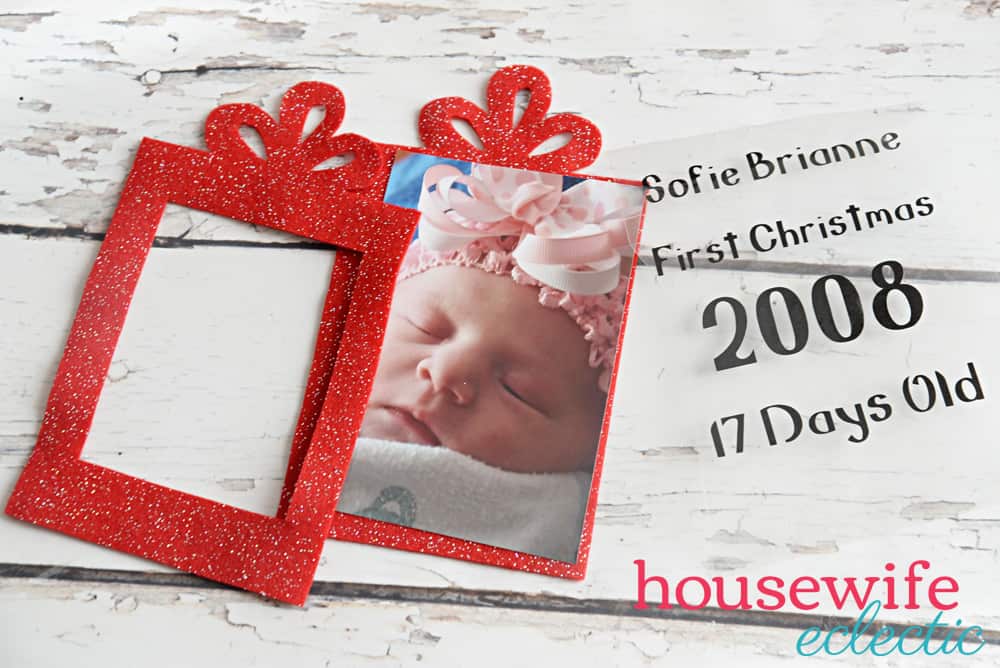
DIY Felt Baby’s First Christmas
These felt ornaments are the perfect way to remember baby’s first Christmas, right down to the day. The best part? The require minimal supplies! You can find my cut files here.
You will need:
- red felt
- black heat transfer
- Christmas photos of your little one
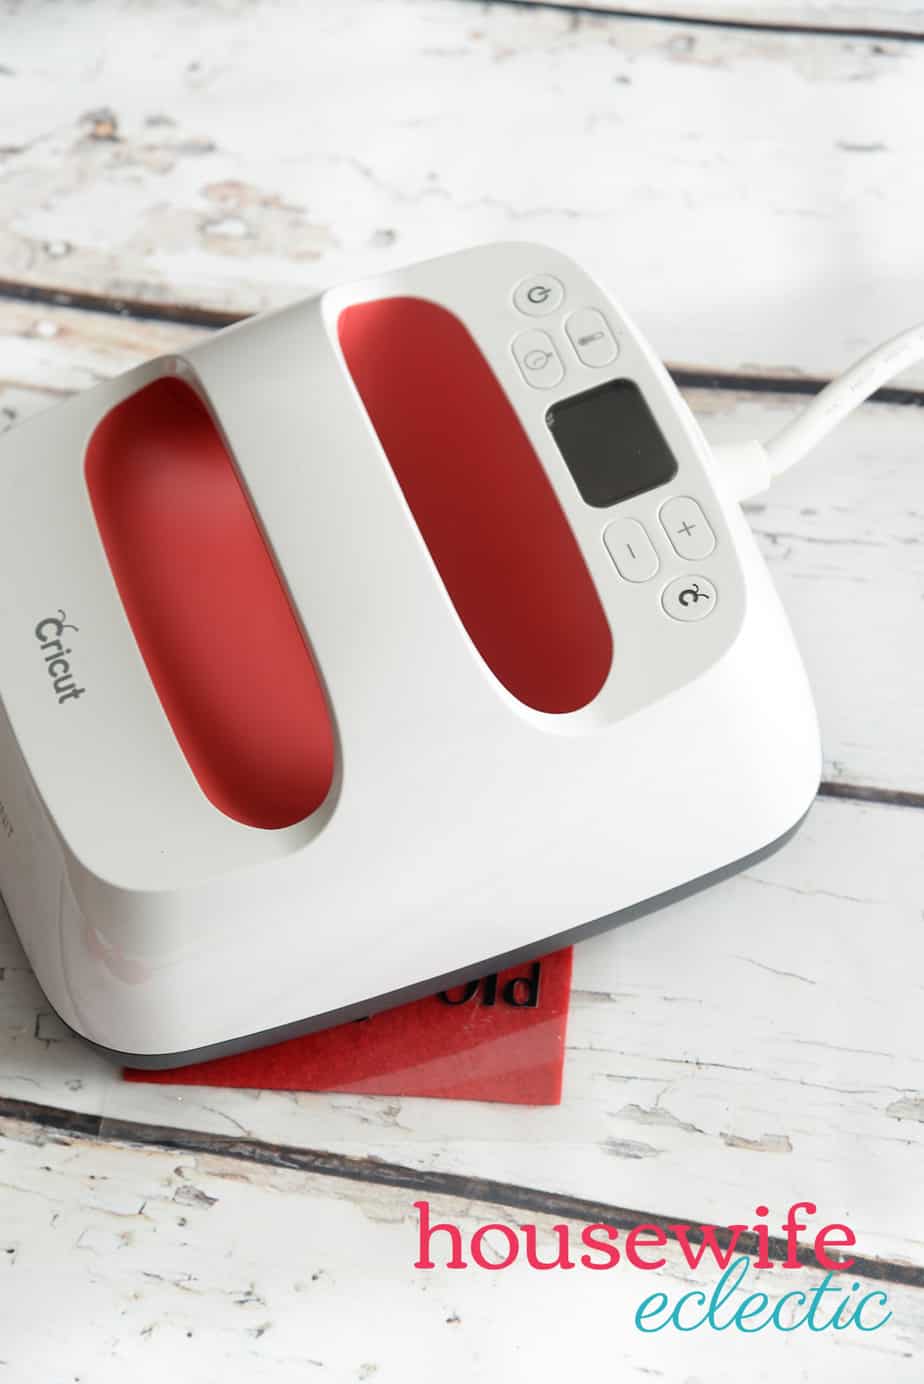
- Cricut Maker and EasyPress
- hot glue
Beginner? No worries! Start here: A Beginner’s Guide to Crafting With Cricut to learn some basics.
Open up a new canvas in design space. Add images by uploading your own or searching Cricut’s library of images on the left-hand side of the screen. Look for simple images with a Christmas feel. I ended up using a present and an ornament. I tried out a Christmas Tree but it didn’t have a large enough area for a photo. Resize your image by clicking on the image and then using the green arrow box to click and drag and resize. When your ornament is sized the size you are looking for, copy and paste it, so you will have an exact copy.
On one version of the ornament, add a square on top of it. Unlock the square by hitting the padlock in the corner of the square and drag the square around until it is sized how you want it. Select both the square and the Christmas image and hit slice. This will cut the square out of the present. Then delete the square and the piece of the present it cut out. Now you will have a hole for a photo.

After you have turned your Christmas shapes into frames, add text to your ornaments including the name of the baby, the year and how old the baby was or will be on that Christmas.

Put your felt down on your fabric grip mat and roll a brayer over felt to help secure it to the mat. Add the rotary blade to your make and load the felt into your machine.

When you select felt on your materials list, your machine will default to the fine point blade, I find the that the rotary blade does such a great job with felt that I always want to use that. Simple edit the tool and select the rotary blade instead.

Once all of the felt has been cut, peel it off of your mat.

Line your pieces up and cut a picture to fit inside your frame.

Cut the words out of black heat transfer and use your EasyPress to iron them on to the back of your felt frame.
I put my EasyPress at 305 degrees and set the timer for 30 seconds and it worked perfectly! Peel the plastic carrier sheet off the felt slowly as the stickiness of the carrier sheet tends to really want to stick to the felt.
Place your photo in the right place and then hot glue the edges of the ornament around it!
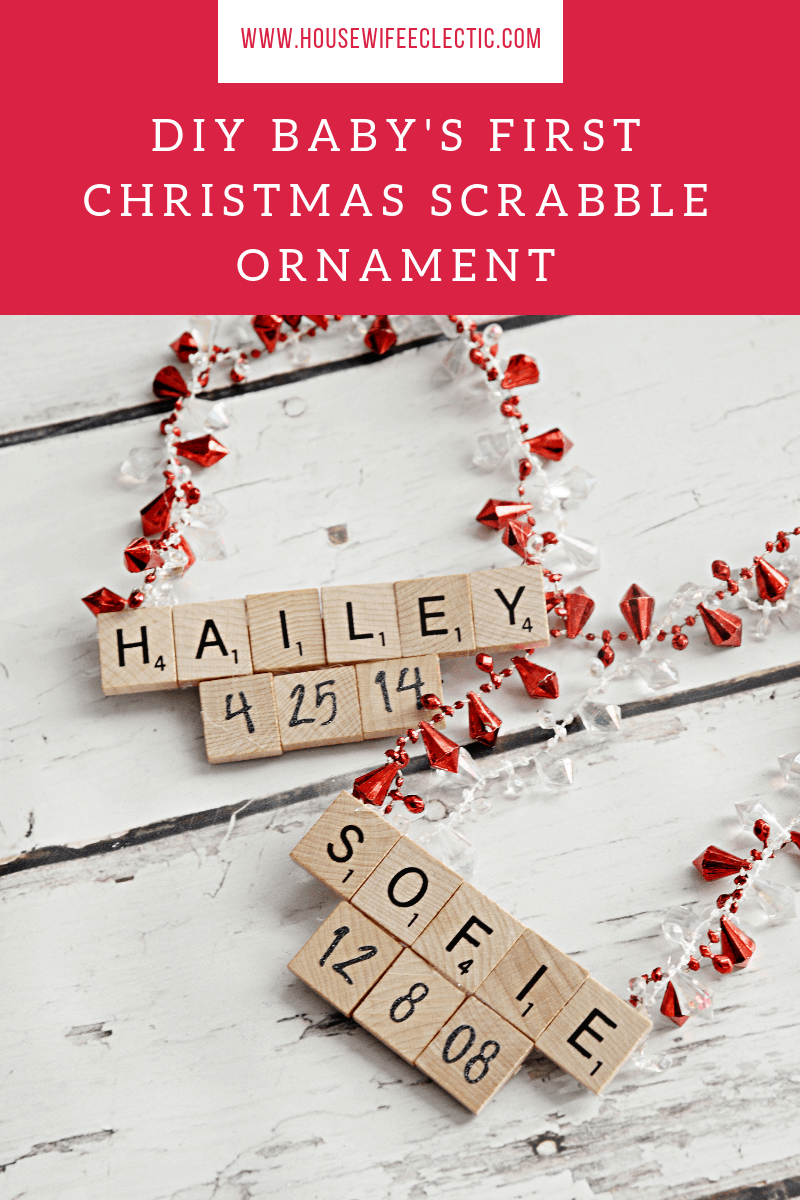
I love Scrabble crafts and there are few things that go together like Scrabble tiles and personalized crafts, so I just had to make these darling personalized baby ornaments! They are so easy and you can dress them up anyway you want! You can find my cut files here.
DIY Baby’s First Christmas Scrabble Ornament
You will need:

Spell your little one’s name out in Scrabble tiles and then hot glue them on top of a popsicle stick for stability. Trim the popsicle stick.

Cut your little one’s birthday out of black glitter vinyl. Just make sure you size the numbers small enough before you cut them and then apply one number to three tiles. Hot glue those tiles onto a popsicle stick and then the section of three tiles to your little one’s Scrabble name.

Add ribbon or garland as the hanger for your ornament and you have an easy and cute way to remember baby’s first Christmas!

Baby Merry Christmas Onesie
Baby’s First Christmas photos are one of my very favorite things! I love experimenting with bokeh and Christmas lights all featuring a darling little one! What does every baby’s 1st Christmas photo shoot need? A darling outfit! This Merry Christmas outfit is a snap to whip up to! You can find my cut file here.
You will need:
- a onesie
- red glitter heat transfer
- Cricut Maker
- Cricut EasyPress
- The Cricut Image (free with Access) – Mery Christmas(#M8B279A4)
This darling image is one of the thousands of images in the Cricut Library. You can pay for images individually or subscribe to Access to use any of the Access images in the library. Now not every image in the Cricut library is apart of access but I would say most of them are!
Simply insert this image into your canvas and resize it. I resized it to be about 5 inches wide for my 1-year-old niece.

Place your image on the center of your onesie and set the EasyPress to 305 degrees. Wait until it is heated up and then press down on the image for 30 seconds. Peel off the carrier sheet and your little one is ready for pictures!
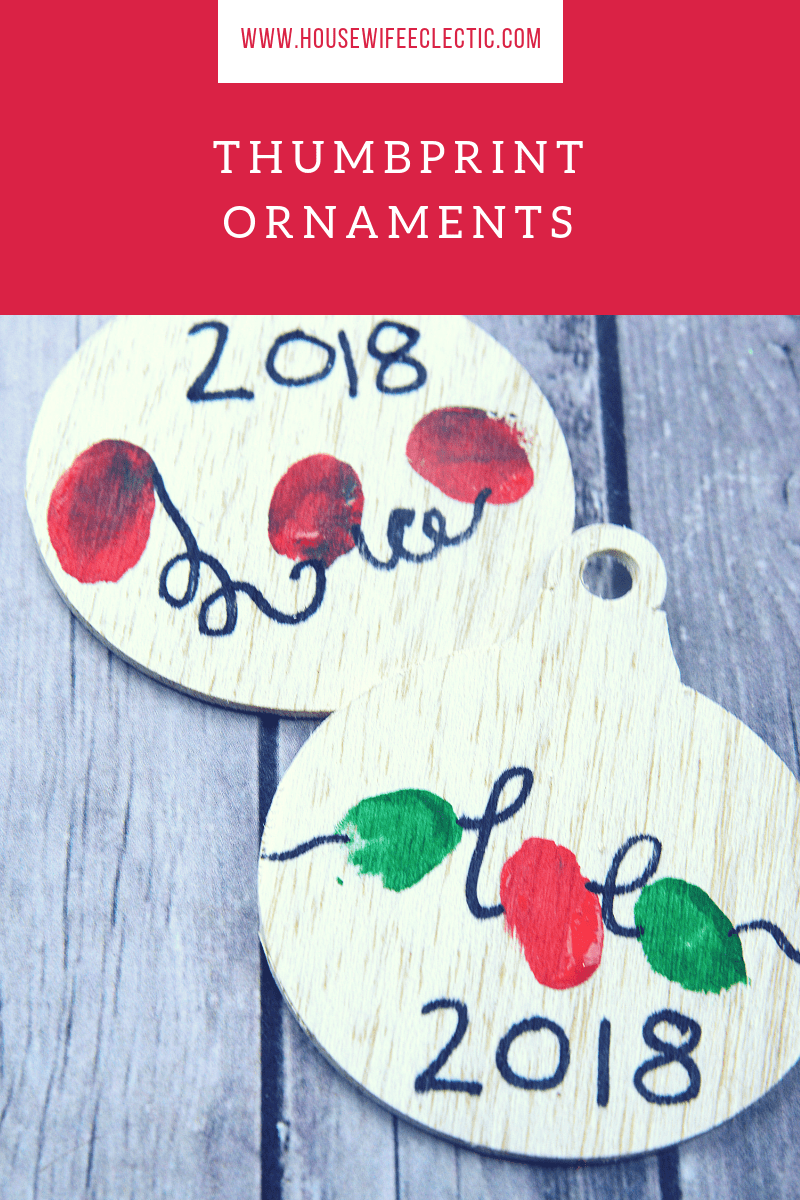
Thumbprint Ornaments
One of the things that I absolutely love about my Maker is the ability to cut wood! I have done monograms and stencils as well as used the knife blade to cut out ornaments for my little ones to decorate! You can find my cut file here.
You will need:
- A Cricut Maker
- Balsa Wood
- The Knife Blade
- Red and Green Paint
Find an ornament shape in your Cricut library or upload one of your own. Adhere your wood to the Cricut mat and then roll the teeth on your rollers all the way to the sides so they don’t leave imprints on your design.

Load your mat into your machine and set the setting to balsa wood.

Pop the designs out and then paint your little one’s thumbs and gently push them down onto the wood. After the thumbprints have dried, connect them using vinyl or a marker for an easy and memorable ornament!
Reindeer and Snowman Thumbprint Ornaments
You will need:
- clear glass ornaments or woodcuts with Cricut Maker and The Knife Blade
- paint
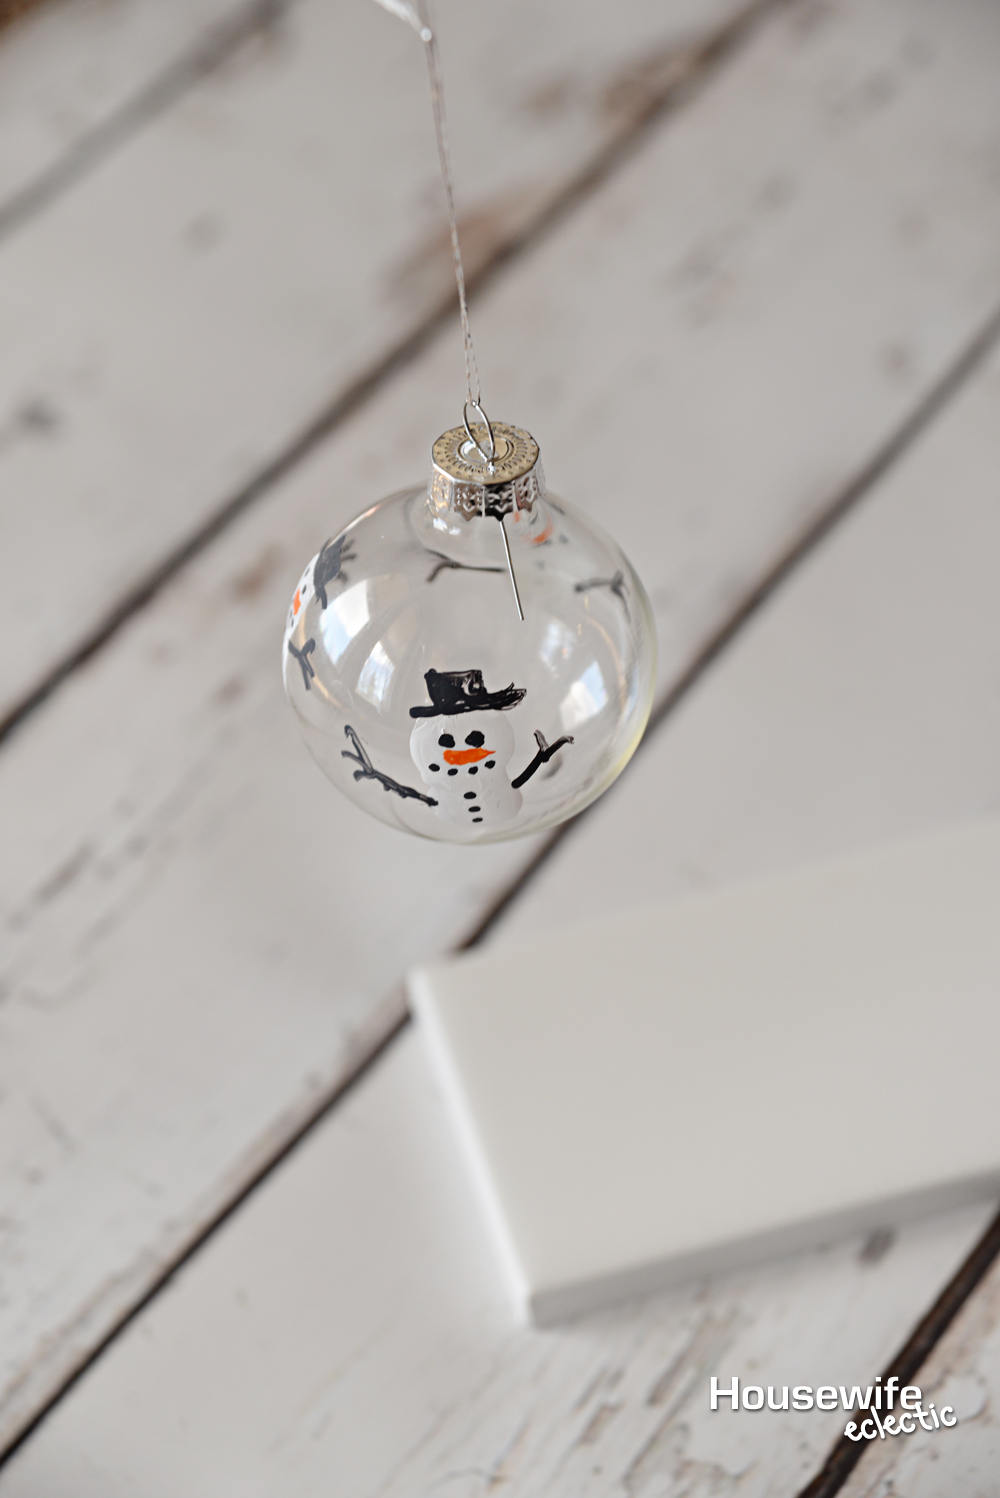
Paint your child’s thumb with paint and push it onto an ornament three or four times. If you want to make a snowman use white paint, if you want to make a reindeer use brown. After the thumbprints have dried add small details to fill out the design. For the snowman, add a top hat, arms, buttons and a nose. For a reindeer add antlers, eyes and a nose. Let the designs dry before wrapping.

What ways will you remember your baby’s first Christmas?
This is a sponsored conversation written by me on behalf of Cricut. The opinions and text are all mine.
I love that you can do so much with this machine. These are wonderful craft ideas. Can’t wait to give them a try.
Very cute ways to mark baby’s first Christmas. Back when I had my kids first christmas stuff wasn’t so easy to find.
I love all of the first Christmas ornaments and that onesie is adorable! The hard part is deciding which one to make first. They are all so cute and creative.
eek how cute is all of this my friend- the first christmas orgnament are usually my favorite bc they are so small at the time 🙂 super creative post!
There is so much to be made with the different cutting machines. These are really cute for a baby first christmas. Tons of ideas and tons of fun.
These are such cute ideas. I think homemade items are a great way to commemorate firsts.
I love all of these! I need to get a cricut. You could make lots of gifts with it. I especially love the Christmas outfit.
I want this product so bad. I am not the most creative person in the world so all the help I can get the better for me. Something like this would help a whole lot.
All these are simply adorable. I love the precision of the cri cut. I still haven’t purchased one, but this seems to be the way to go.
I have wanted a cricut for such a long time now, they do so much. I had no idea though they cut felt too! Your projects are adorable!
You can do so much with a Cricut. I love the baby’s first Christmas onesie that you made.
Celebrating a baby’s first Christmas is such an exciting time. I love all these ideas you presented – they seem easy and fun to do!
I am not a very artistic nor creative person and I really need this product so badly in making this beautiful crafts for my baby.
I love the Scrabble idea of spelling the little one’s name. So many creative options for baby’s first Christmas.
My sister has a Cricut and is always making the cutest shirts!! I will have to show her this post!!
I love doing crafts, especially ones that are memorable. I wish I would have had a Cricut when my kids were little.
A fri3end of mine has this and does a lot of neat and cute projects. She sells them during Christmas sale at school.
What adorable ideas for baby’s first Christmas. I love Christmas and babies. There is so much wonder and delight their first year.