• Skip to secondary menu
  • Skip to main content
  • Skip to primary sidebar

Housewife Eclectic

Recipes, Crafts, Book Reviews and More

  • Tutorials
  • Recipes
  • Books
  • Parenting
  • Tech Help
  • About Me
  • Printable Store

Cherry Blossom Button Art

April 1, 2013 by Wifeeclectic 5 Comments

April always has me itching for spring. Flowers especially Daffodils and Cherry Blossoms always rank high on my list of favorite things at this time of year. It also makes me want to update the wall art in my house.
The little library I have in my house has a distinctly Asian feel to it, that I absolutely love and I was looking for another way to incorporate Cherry Blossoms into my favorite room when I was given the chance to test out Cricut’s new iron-on vinyl. I have to say I LOVE this stuff. It is easy to cut, easy to weed and easy to well, iron on.
Supplies:
a fat quarter, I used a black one with a subtle pattern
pink buttons
ribbon
quilt batting
Iron-on vinyl
The first thing you need to do is cut the image for your art. I used my Cricut Mini and cut the branch for my project almost the whole length of the cutting mat. Since my image was so skinny, I made sure to add a couple of images to the mat for a shirt for my 4-year-old. I didn’t want to waste any heat transfer.  Make sure if you are printing words to flip the images before you cut them. Each sheet of heat transfer has two part to its a plastic sheet and the actual heat transfer. In this case the heat transfer is white, this is the part you want face up on your cutting mat.

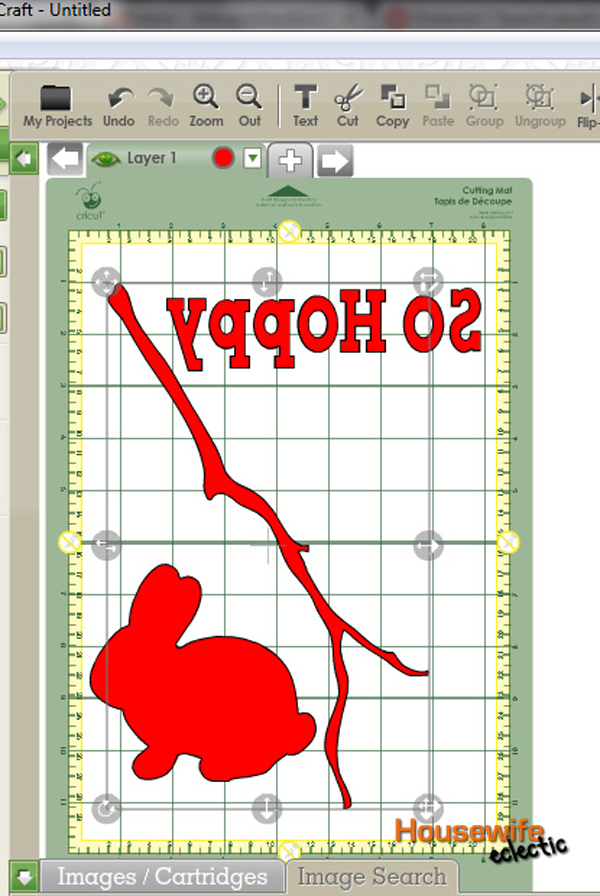
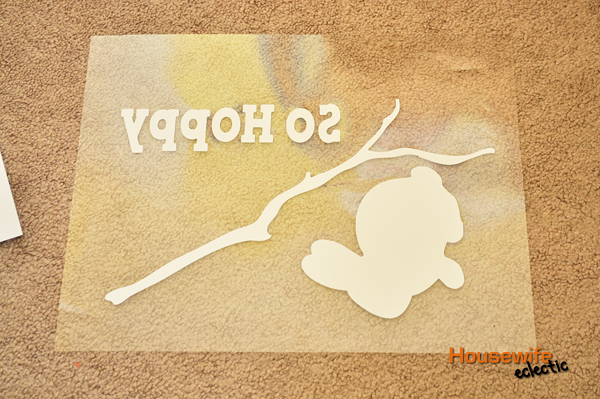
Cut the images and then weed out the excess vinyl. I loved how easy this was. The images I cut separated really easily from the rest of the vinyl.

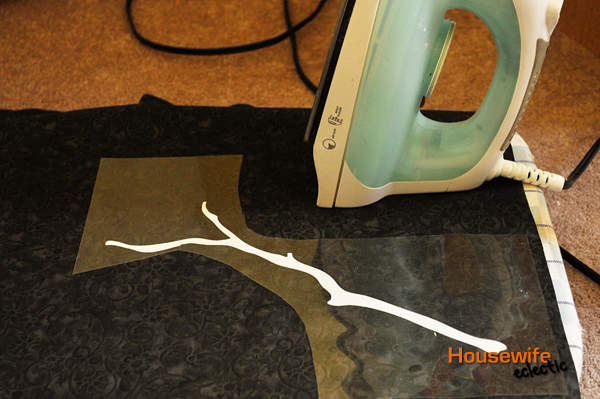
Set your iron to the highest setting and preheat the area of your fabric you want you image to adhere to. Place the image vinyl side down on your fabric. Using a a piece of fabric or dish cloth, cover your image and plastic sheet. Iron the image for about 30 seconds with medium pressure. Flip you project over and iron the back of the image for another 30 seconds. Allow the project to cool and then peel the plastic sheet off.

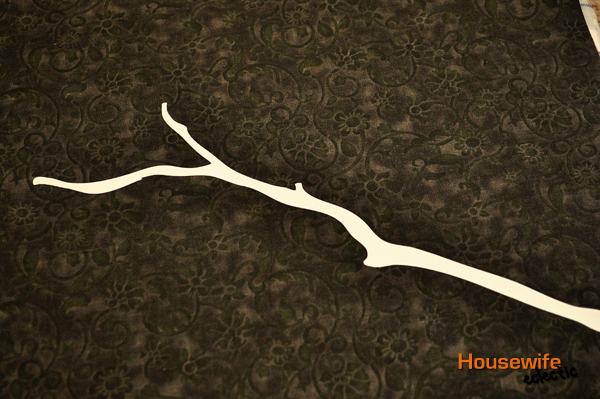
You will be left with your image transferred to your fabric.

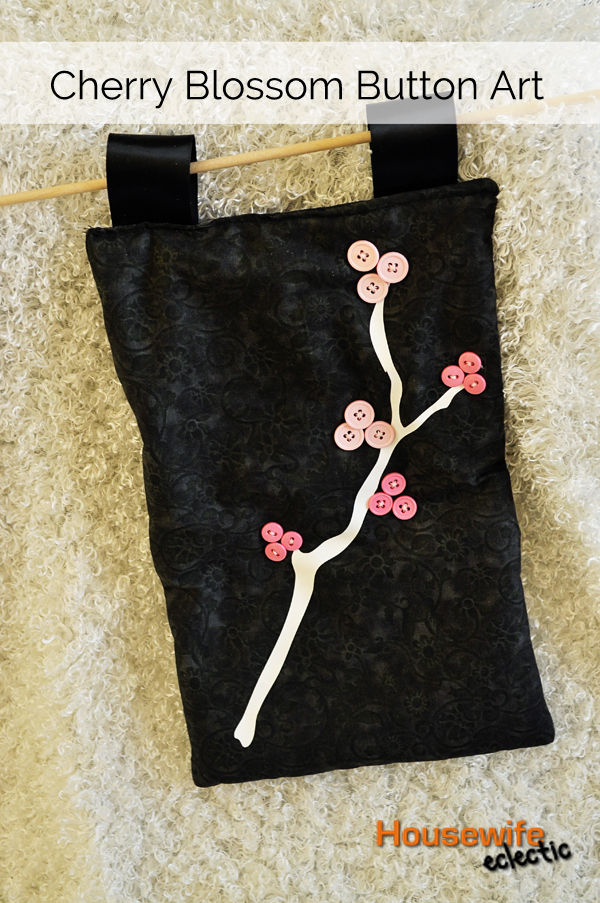
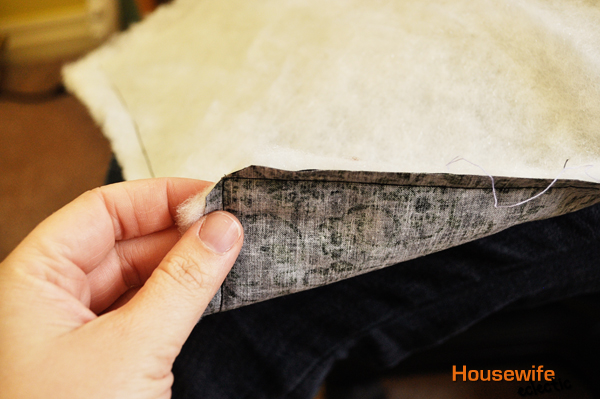
Cut a rectangle around the image. Cut a piece of quilt batting and a matching piece of black fabric that are the same size. Sew wrong sides of the fabric together with the quilt batting on the outside of one of the sides of fabric. Sew three sides, leaving the top of the project open, then flip the fabric inside out. This will place the batting on the inside.

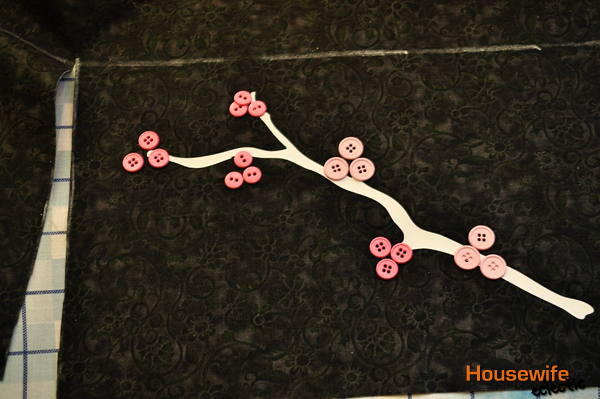
Line your blossoms up on your branch. I used five blossoms with three buttons each. Sew the buttons on the wall hanging. I sewed the buttons all the way through the batting and the two layers of fabric, using them as a sort of quilting.

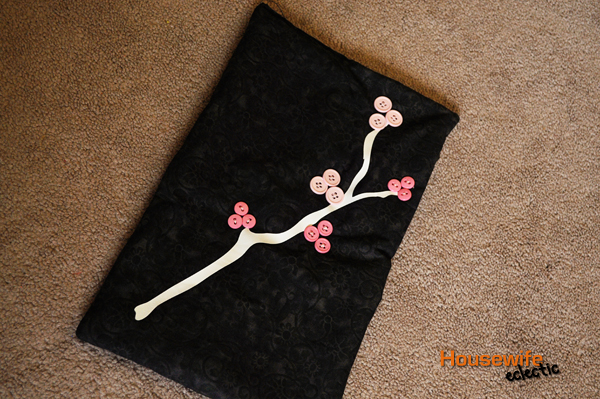
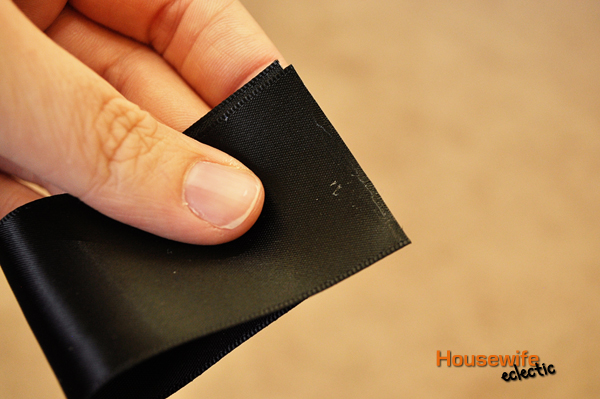
Cut two ribbon loops, place the ribbon loops inside the opening of the hanging. Top stitch the opening close with your sewing machine.

Add a dowel through the ribbon loops and hang on the wall, while crossing your fingers that spring is here to stay this time.

Isn’t the new iron-on vinyl from Cricut awesome? It will be available to buy for the general public on April 11th, but a few of us bloggers are offering it now! You can buy it one of two ways right now, in a vinyl bundle or with a machine and tool kit, at an incredible discount!

(I was given a sample of the heat transfer in exchange for my honest review. All opinions are my own.)

post signature

Filed Under: Cricut, Tutorials Tagged With: Arts and Crafts

Reader Interactions

Comments

  1. Summer Rumsey says

    April 1, 2013 at 3:53 pm

    This is so cute! I love both iron on vinyl and buttons but would have never thought to put them together. Love this!

    Reply
  2. Lindsay @Artsy-Fartsy Mama says

    April 1, 2013 at 4:04 pm

    So cute!! I love it!!

    Reply
  3. marissa | Rae Gun Ramblings says

    April 1, 2013 at 4:04 pm

    that turned out darling! I love the combo of the vinyl and the buttons. I might have to use that branch image for something myself.

    Reply
  4. Leanne says

    April 2, 2013 at 3:03 pm

    So cute! I love that you added the buttons!

    Reply
  5. Maria says

    April 3, 2013 at 6:32 pm

    Great project, no one is sharing how big or what size the rolls are.

    Reply

Leave a Reply Cancel reply

Your email address will not be published. Required fields are marked *

Recipe Rating


Primary Sidebar

Connect with Us

Facebook
Twitter
Follow Me
Instagram
Pinterest
RSS
Follow by Email

Welcome to Housewife Eclectic

Debra Hawkins - Housewife EclecticHi, I'm Debra. I am a craftaholic photographer married to a web-programming amateur chef with two sassy littles keeping it interesting. It gets crazy around here. Read More…

Archives

Copyright © 2023 · Lifestyle Pro on Genesis Framework · WordPress · Log in