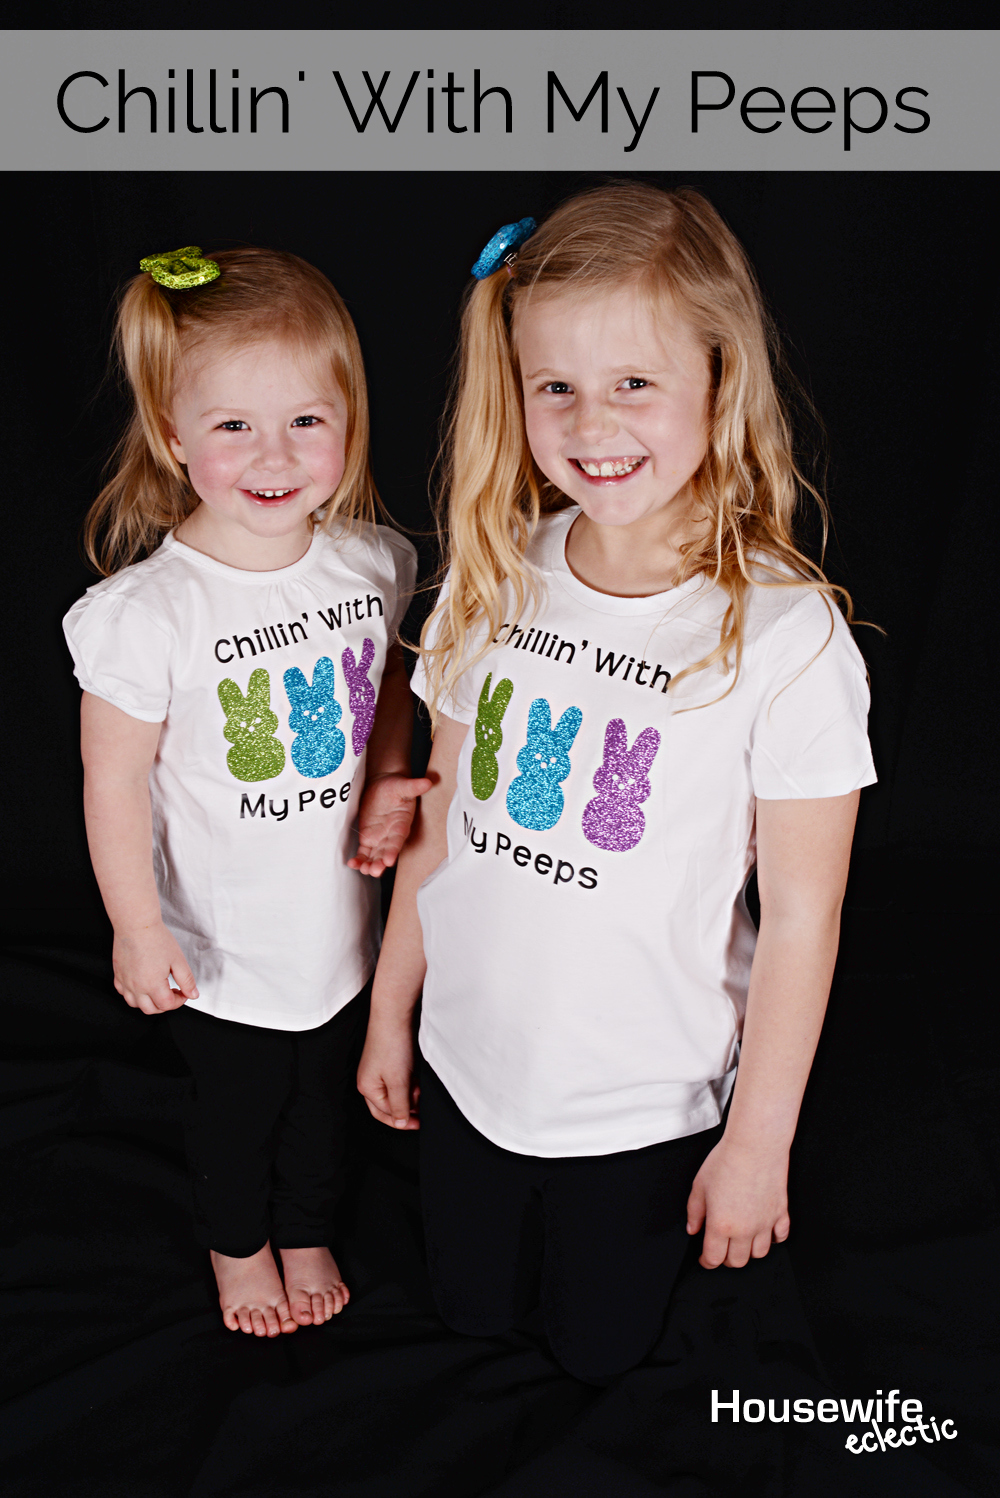
- Glitter Heat Transfer in three colors (I used, blue, green and purple)
- black heat transfer
- a Cricut
- a white shirt
- a iron or heat press (if you use iron on often a heat press will change your life.)
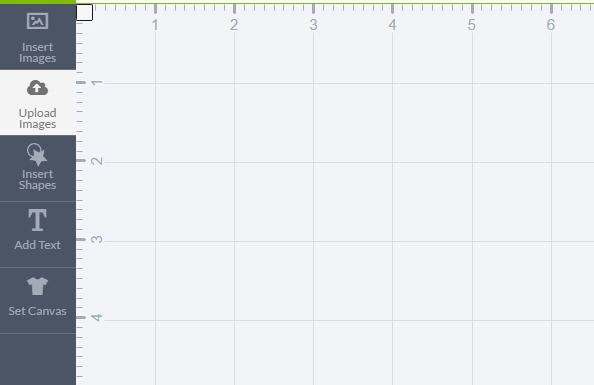
First hit the Upload Images button on the left hand menu in Cricut Design Space.
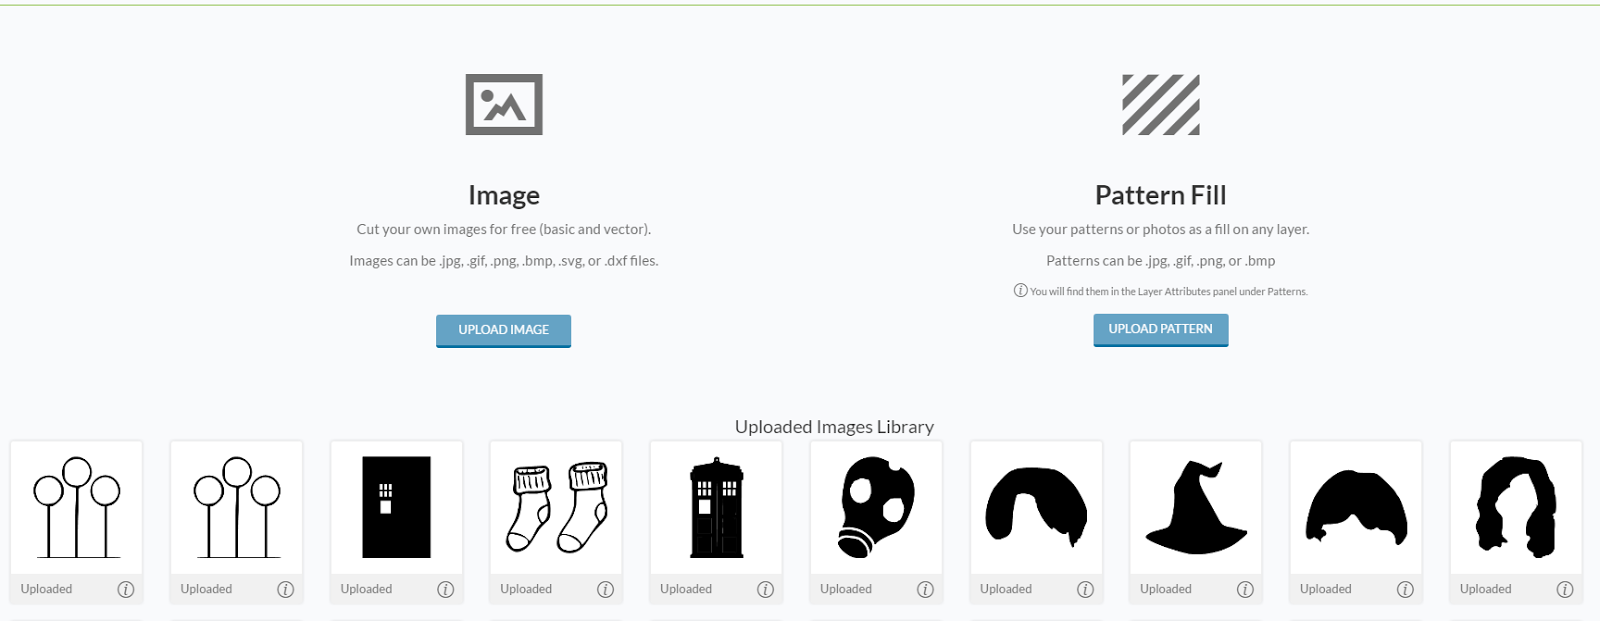
Hit the blue Upload Image button on the left.
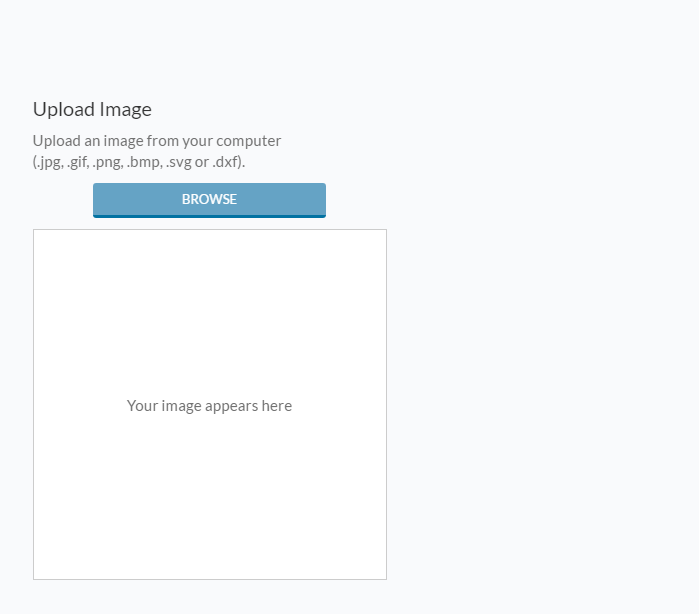
After you hit upload image, the browse screen will come up.
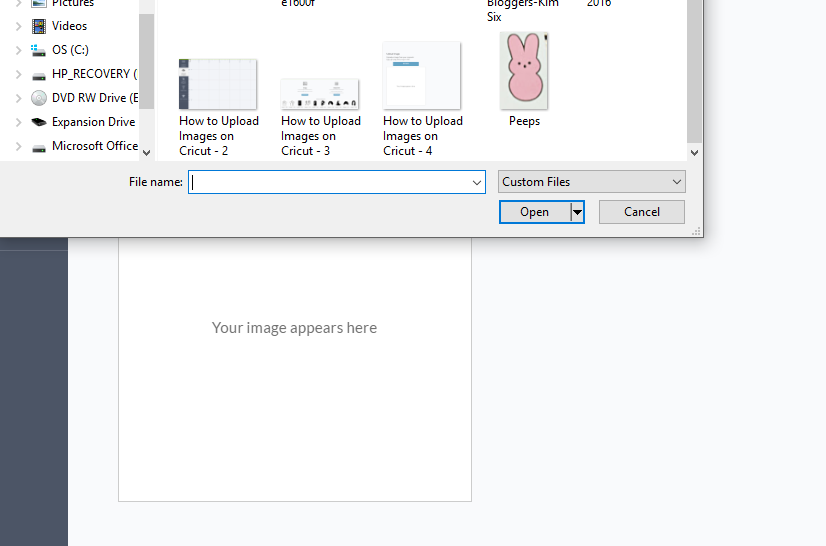
Hit browse and find the image you want on your computer. This will let you upload any (.jpg, .gif, .png, .bmp, .svg or .dxf) When you find the image you want, select it and hit open.
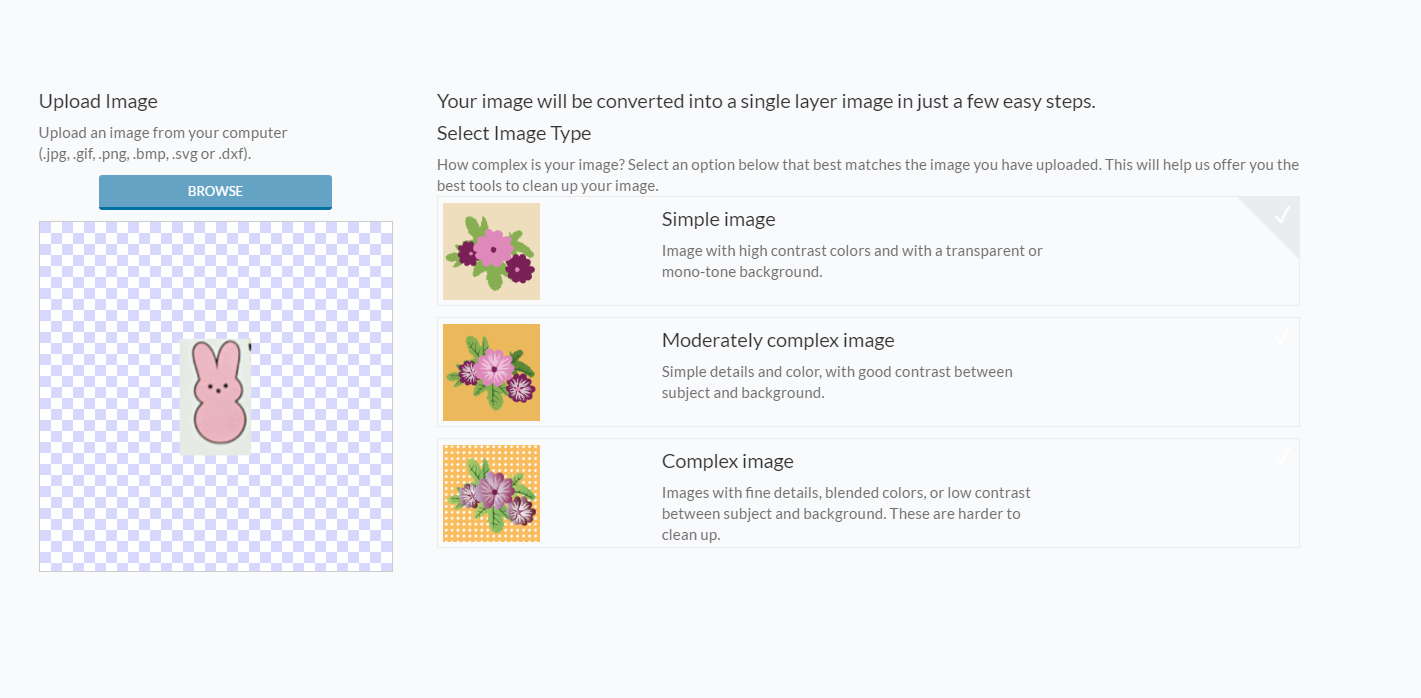
After you select the image on your computer, you will be asked to select the image type. There are three different kinds of image types.
Simple Image– a image with high contrast colors with a monotone background.
Moderately Complex Image– a image with simple detail and colors with good contrast between subject and background
Complex Image– images with fine detail, blended colors or low contrast
The peep is a simple image because it has clean lines and a black shape on a white background.
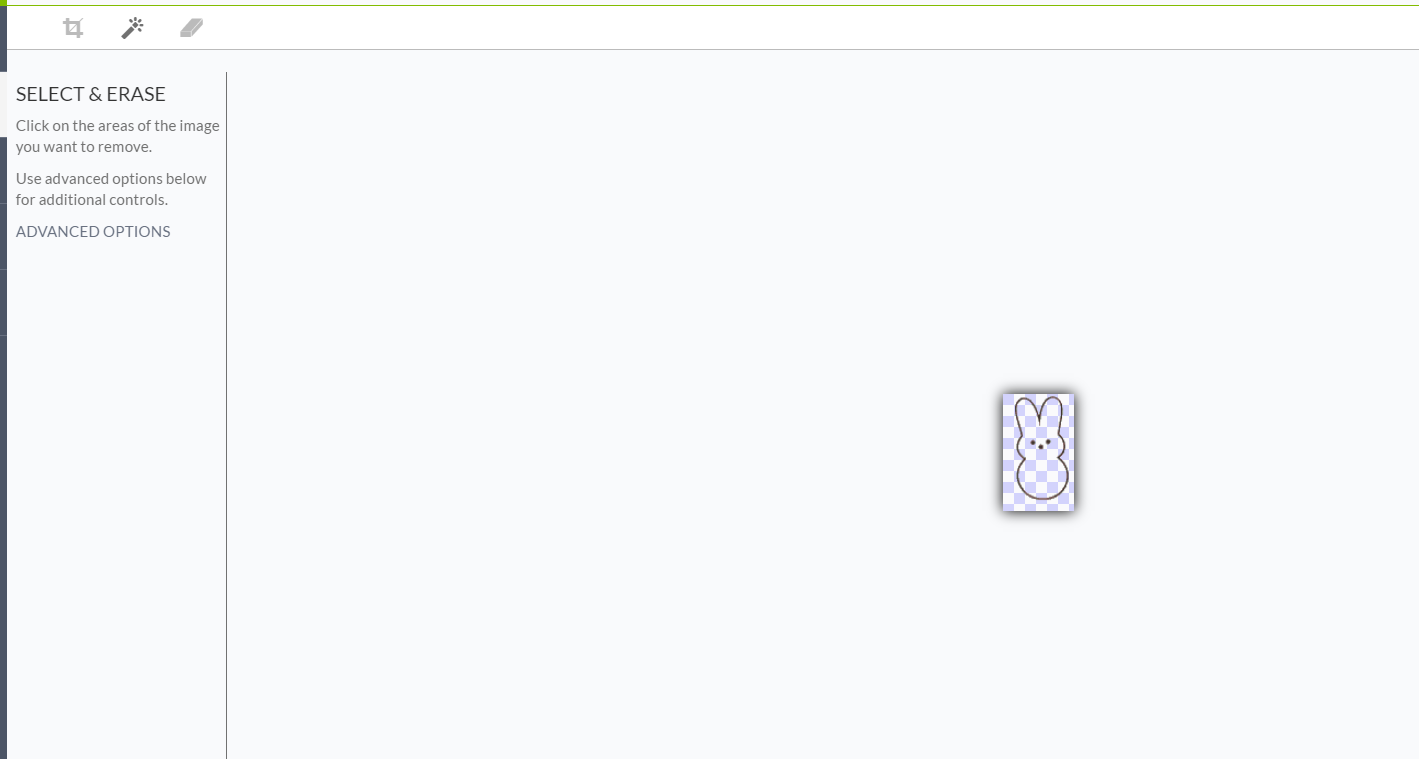
After you select your image type, it is time to clean up the image. There are a few different tools to help you get the image you want.
Crop– This tool will let you crop out any unwanted portions.
Select & Erase- This took is like a little magic wand that will select entire sections.
Erase– This is like the erasing tool in paint or other programs where you will physically need to draw over every part you want gone.
In most images, you want to erase the background and make it transparent so the Cricut knows what lines to cut.
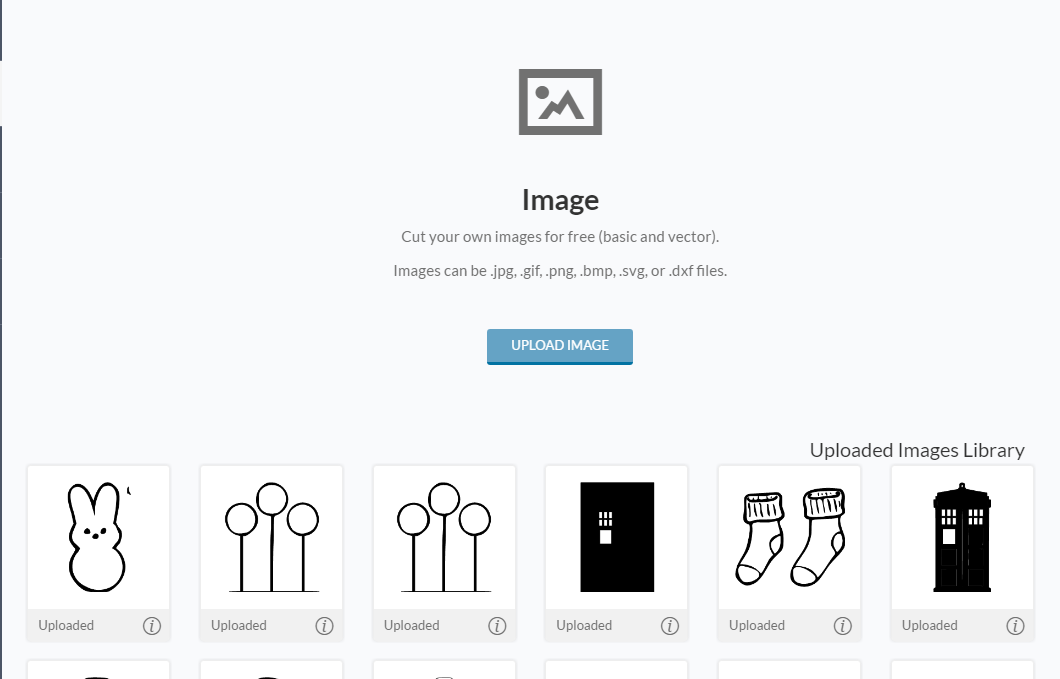
After you save your image, Design Space will take you back to the first Insert Image screen, but this time the image you uploaded will be in the library ready for you to insert it. Insert it into your project and now you can move it, resize it and add any text that you may want for your project.
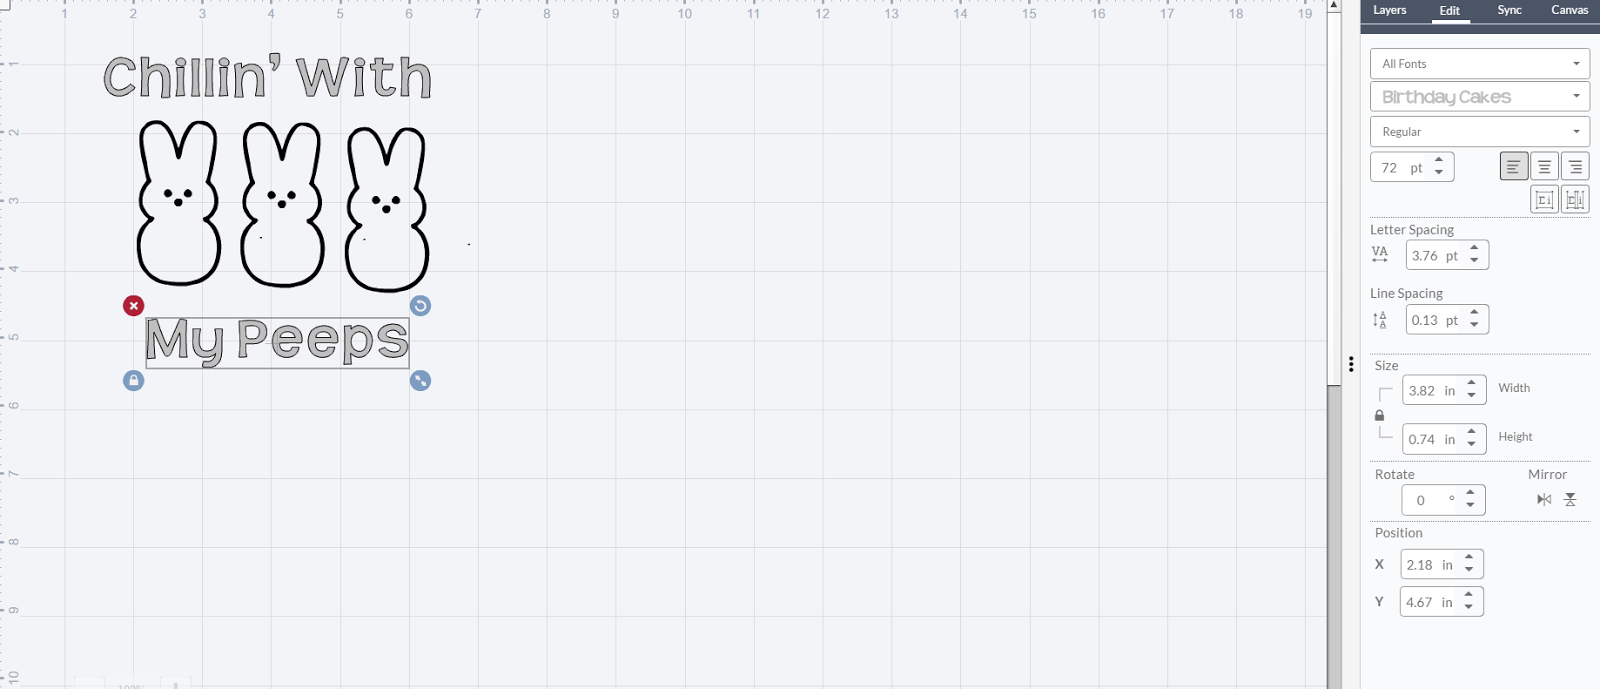
Copy and paste the peep onto the screen two more times. Add a text box by hitting the text icon on the left hand side and typing your text into the box. You will want two different text boxes. Ones that says Chillin’ With and one that says My Peeps.
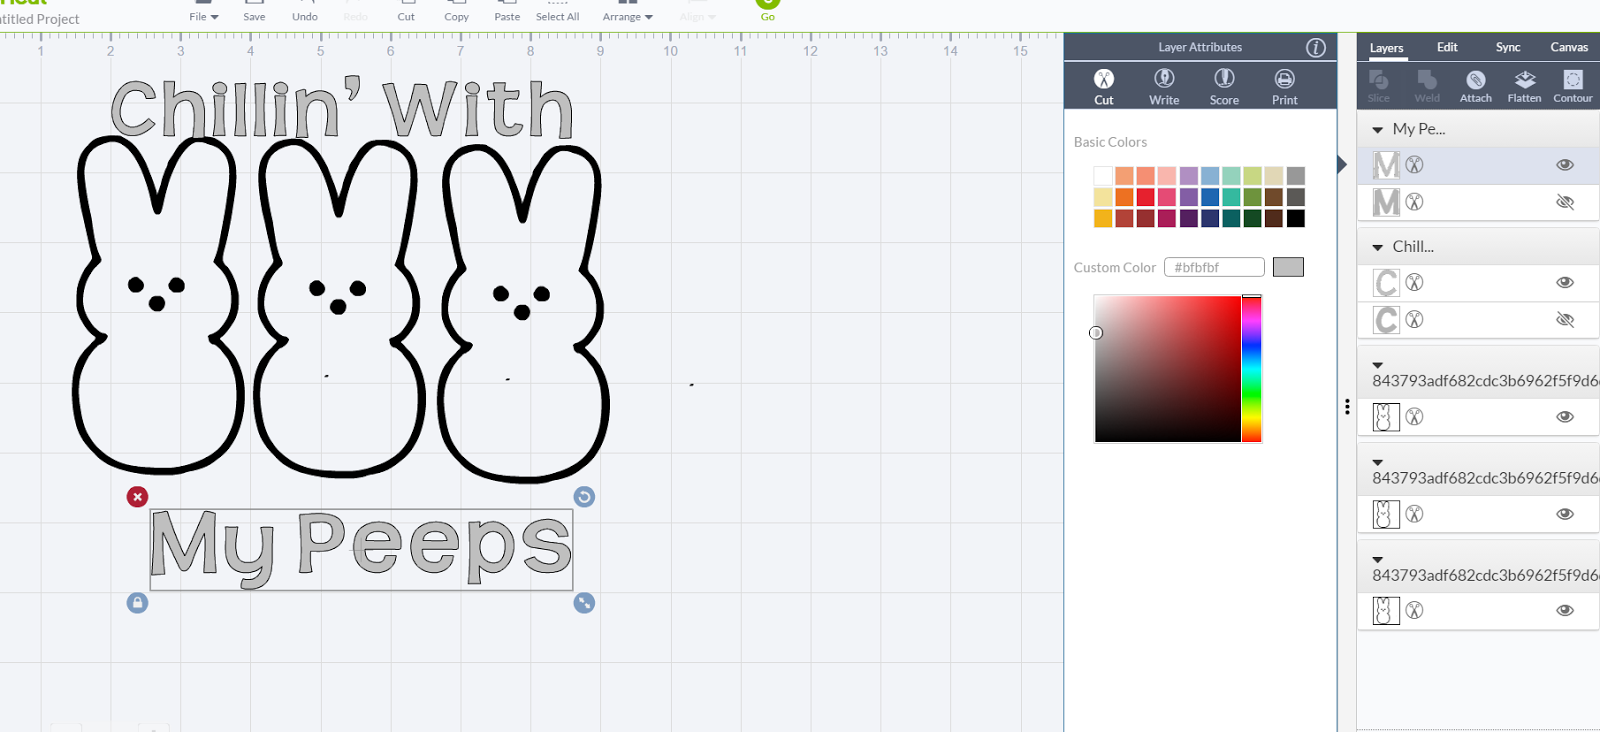

Hit the big green GO button at the top of the screen. Make sure to hit Mirror Image on all of the mats that appear on the left of your screen. This is because you lay heat transfer shiny side down, so you need to mirror the letters when they are cut so they will face the right way when they are ironed on. Hit mirror image for each of the different colors before you hit cut then hit go. Set the dial on your machine to iron on or iron on plus if you are cutting glitter iron on, load your Cricut mat and hit the flashing go button. If you

Once you are finished cutting out the peeps and the words, weed off the excess heat transfer by pulling a corner of the heat transfer. Take special care around the dots of I’s and other small items.
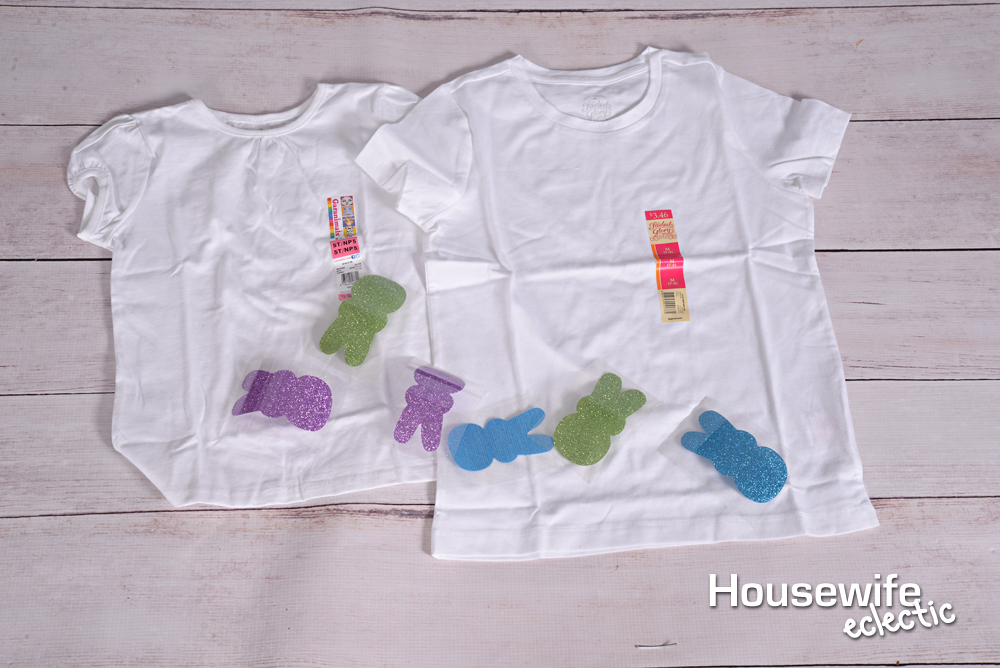
Once your heat transfer is weeded, place it down on the shirt like you want it. Set your iron to the cotton setting on your iron or heat press. Using medium pressure, iron the entire image for about 30 seconds, directly onto the carrier sheet, without any steam. After you finish, I like to flip my shirt inside out and iron for another 10 seconds from the back. Peel the carrier sheet off. If any parts of the image pull up when removing the carrier sheet, stop peeling and iron for a few more seconds in that spot.
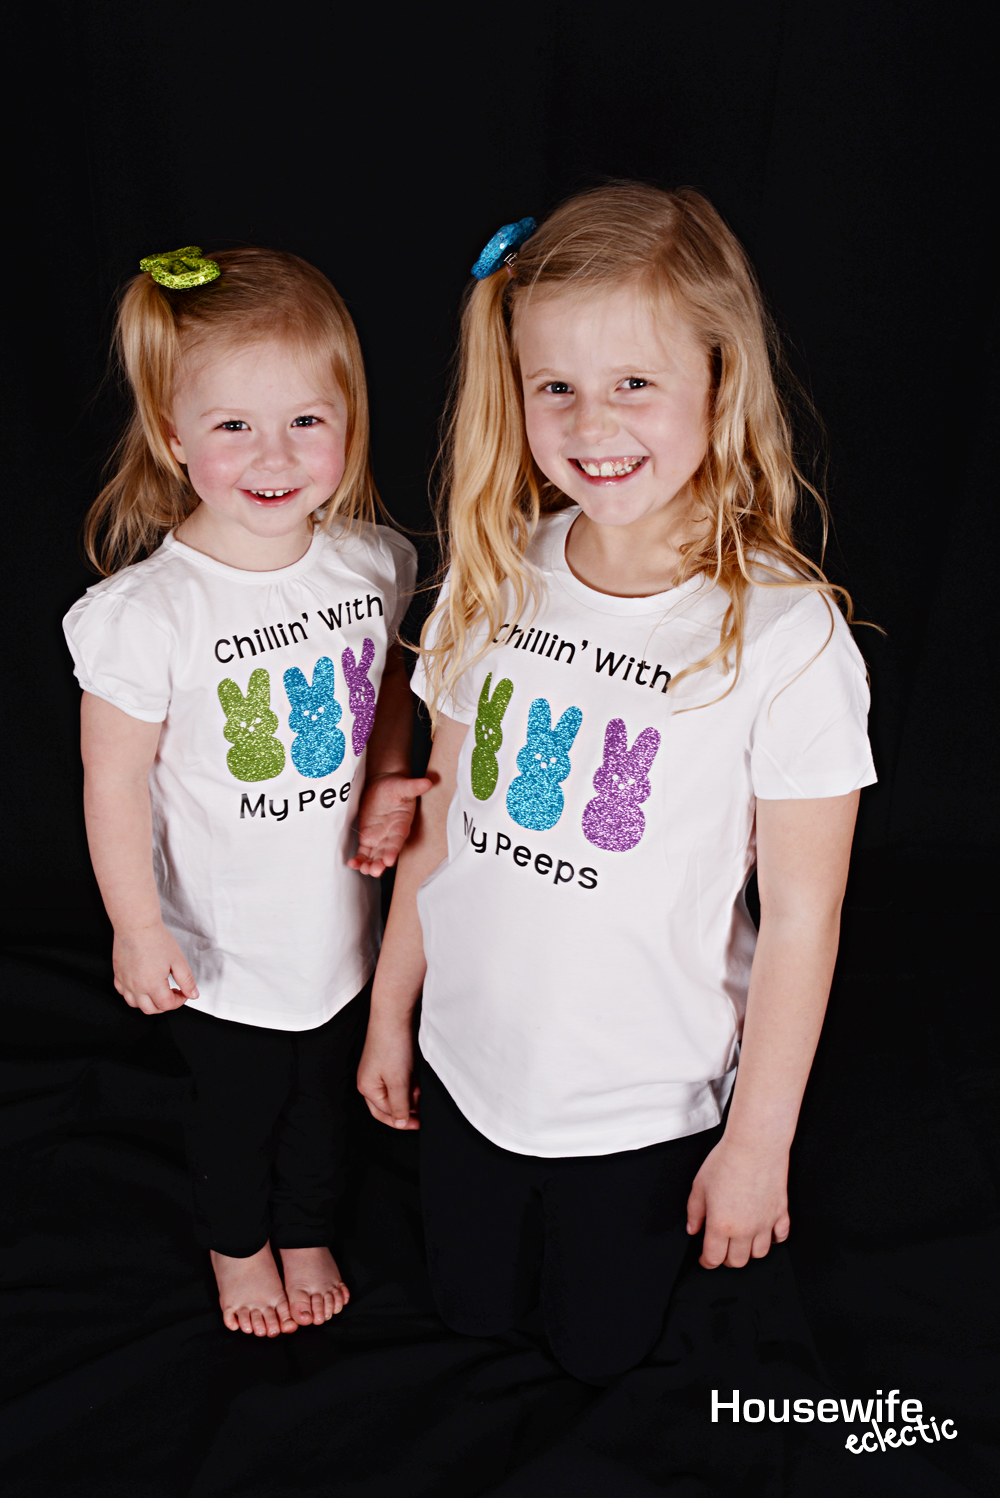
After the shirts are ironed they are ready to wear! When you wash them, flip them inside out to help protect the heat transfer and they will last!

This is a sponsored conversation written by me on behalf of Cricut. The opinions and text are all mine.
var ts=document.getElementById(‘ti-pixel-tracker’); var axel = Math.random() + “”; var num = axel * 1000000000000000000; var ti=document.createElement(“img”); ti.style.display=”none”; ti.src=”https://tracking.tapinfluence.com/trk/gnRfj/6yx5c/p.png?p=Qwa5q” + String.fromCharCode(38) + “i=2s2F6” + String.fromCharCode(38) + “ord=”+ num + String.fromCharCode(38) + “s=” + encodeURIComponent(document.referrer); ts.parentNode.replaceChild(ti,ts); JSON.stringify({“program_id”:”dfef9ec4-13e9-11e7-ba45-22000a7d00a4″,”post_id”:”544e7bf6-1425-11e7-a3e7-22000a7d00a4″});
Cute! They look store bought. I would not have thought that you made them. Love the sparkle.
Those are the cutest t-shirts ever! I can't believe how easy they were to make with the Cricut.
What an adorable t-shirt, it's a very creative idea. Love all the things you can do with the Cricut!
These are adorable! I can see why your girls want a special shirt for every holiday. I've never owned a Cricut, but after reading this, I want one. It's so easy and thanks for the step-by-step directions.
Those are just too cute! If I had a cricut, I'd be making that for myself! I didn't know there were so many things to make with one.
Oh my gosh those are darling! I would love to learn how to use that machine. I am not the most creative but if I have a machine to help me I think I could do a lot of fun things.
The shirts turned out really cute. I don't have the ability to hook up and do all of this wish I could.
These shirts are too cute. I wish I can hook up all.
Aww, peeps are super cute! This is a cute idea for young children to wear. I'd probably wear it myself, too, lol.
I love the way you designed these shirts. Those are really cute. I don't have a Cricut, but I would love to get one and try some of these projects.
I am seeing so many cute Cricut craft ideas lately. It is making me want to buy one so I can make all these things.
Those tees are just adorable! The colors and design came out really well. My niece would love a Cricut.
The things you can make if you have a cricut! Those t-shirts look so adorable. I might seriously consider getting a Cricut. I would love to make things like this for my grandchildren!
I have used the circuit machines before for a lot of cool things but I didn't realize that you could use them to heat transfer. Those shirts are both adorable and awesome.
These tees turned out so cute! I can't believe you were able to make such professional quality shirts using a Cricut.
Omg, the shirts are adorable! Love them! They came out amazing using the Cricut.