
If there is one thing I am a complete sucker for, it is galaxy print. I have it on shoes, dresses, even hats. Slapping galaxy print on something almost guaranteed that I would buy it…until I realized just how easy it is to make yourself. Turning something into a galaxy is a fun experiment in artistic freedom and a great way to spend day. This galaxy tablecloth is hands down one of my favorite things I have made recently. It is vibrant and fun!
DIY Galaxy Tablecloth
You will need:
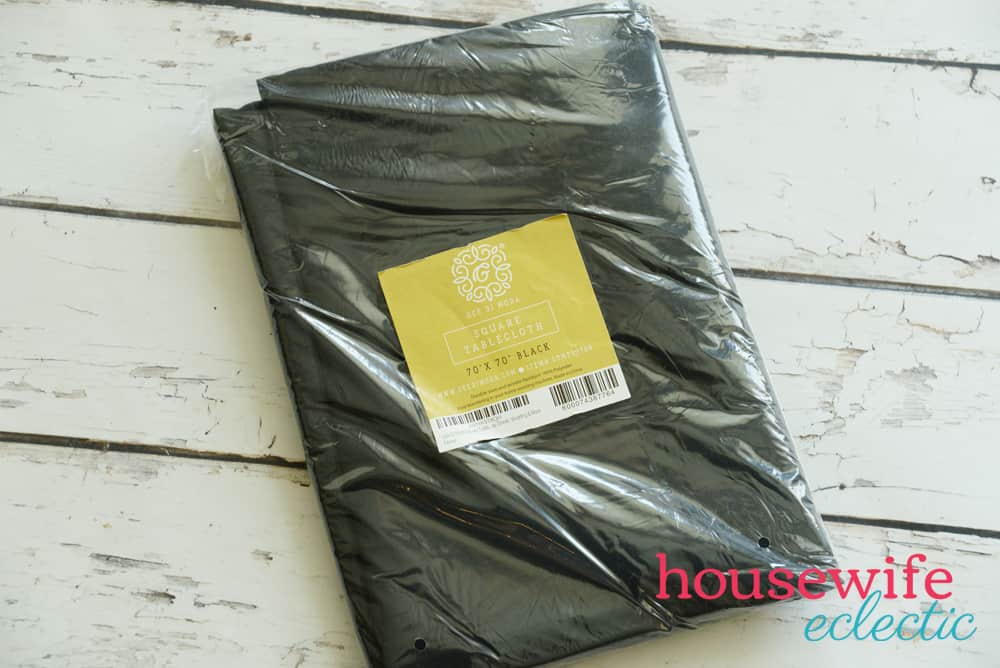
- a black tablecloth
- paint in various colors (I used red, orange, green, purple, white, and blue)
- spray paint in pink and turquoise
- Cricut Maker with Knife Blade
- Basswood
- Iron on in yellow, orange, red, blue and grey
- Glitter Iron on in Multi
- EasyPress 2 in 12×10
Normally when I make something into galaxy print, there is bleach and tie dye involved. With this project, I used a spray paint method instead.

Lay out your tablecloth and attack it with spray paint. You want to keep the colors light and airy, holding the spray paint can at least 8 inches above the tablecloth. Swirl your arms around while you spray the paint so that there are no straight lines, just curves. Allow the tablecloth to dry and then throw it in the washing machine.

While your tablecloth is washing and dry cut out your templates on your Cricut Maker. Cut ovals of various sizes. The exact size doesn’t matter as long as you have that nice oval shape. My biggest oval was a wide was I could make it my piece of basswood, about 3.5 inches wide and 5.5 inches tall.

Use the templates to paint the galaxy swirls on the tablecloth. Start with a large light oval (yellow works great for this), add blue curved lines around your oval, using the edge of the oval template you cut out and then make a smaller pink or red oval in the center of your yellow oval.
You May Also Like: Galaxy Crafts and Recipes

Add white smears to your pink and blue to lighten them up a little bit and then outline your blue curved lines in a dark purple. Dip a paintbrush in a generous amount of white paint and thing flick the paint all over your galaxy swirl.

Repeat this process 4-5 across your entire tablecloth, using different color variations each time. Now it is time to add the planets! I did both paint planets and iron on planets, it gave the tablecloth lots of difference in vibrancy and texture, which I loved!

Cricut has an amazing set of planets already in their system. I simplified them slightly, making each one only two colors instead of three. You can find my simplified versions of the planets here.

Cut the different parts of the planets out of iron on. You will cut five different times, once for each of the colors. Design Space will separate the colors into different cuts for you, according to what colors you have turned your planets in the program. If you use my file, it will be all ready to go for you with five cuts. Make sure you mirror all five of the colors before you start any of the cuts.
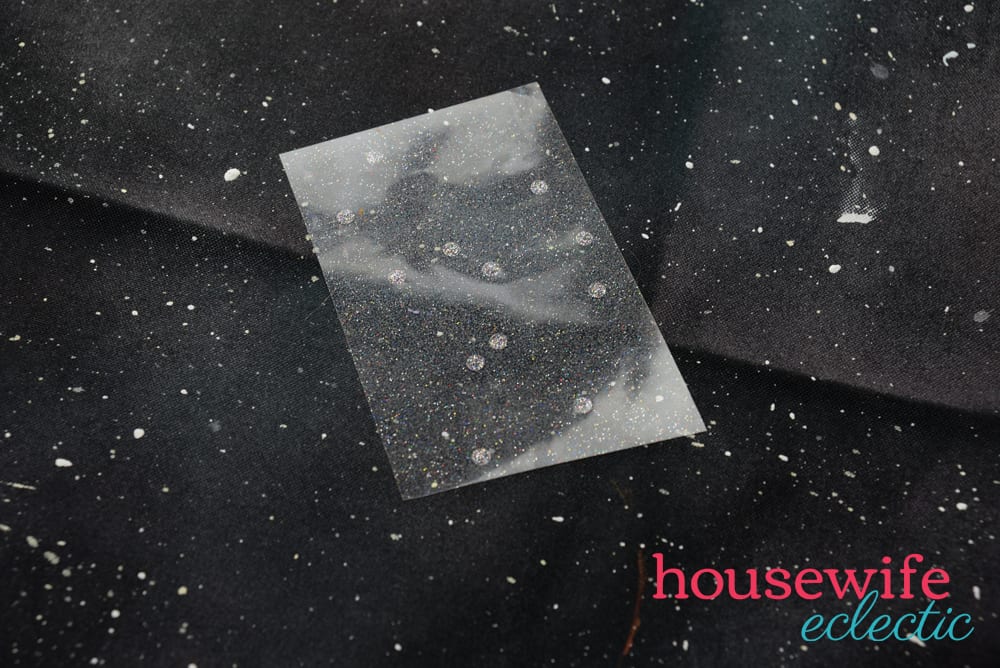
While I love the colorful planets, my favorite part of this tablecloth is a little hidden. If you look closely you can see little clusters of glittery dots in the shape of constellations. I cut these out of a glitter iron on and hid them throughout the design. Some of the constellations are more visible and some you really have to look for. To save you from having to create your own constellations, you can use my DesignSpace file found here.

After you have cut out all of your planets and your constellations you are ready to adhere them to your tablecloth. Enter the EasyPress 2! This brand new product is absolutely amazing and the perfect shade of raspberry. It has the size you need for larger projects. No more ironing on in portions, you can bet the entire constellations in one go! Heat your EasyPress 2 udegrees05 degree and apply 30 seconds of continuous pressure on your glitter designs. Peel up the carrier sheet and you are good to go. In the case of the planets, apply the lower layer first and once that is completely adhered, add the top layer, cover the entire design with parchment paper and repeat the process.
The EasyPress 2 comes in three different sizes for your different needs. The 6×7 is great for smaller projects, the 9×9 is perfect for t-shirts and a lot of designs and then you have this gorgeous 12×10 that is perfect for huge constellations and any other large-scale designs. The new 12×10 lets me get a professional adhesion on my large scale designs in 60 seconds or less. That is pretty darn impressive.
The EasyPress 2 has little to no learning curve and can be used by just about anybody. The ceramic coated heat plate gives a much more even press than you could ever hope to get with an iron. My favorite way in which the EasyPress 2 is better than an iron? You know exactly what temperature you are applying to design instead of guessing with random settings. It has a great safety base to hold the press when not in use, which is a must for me with kids in the house.
Between the new EasyPress 2 and the Strong Bond Guarantee from Cricut, you are guaranteed to love your project for years to come. Cricut’s StrongBond™ Guarantee means that when their iron-on material is used as directed, you’ll be completely satisfied with the results. If not, they’ll replace it for free. Look for the StrongBond™ Guarantee on select iron-on materials.

Once you have added your constellations and your planets, you are ready to add your tablecloth to your dining room!

I am pretty sure this is the coolest tablecloth in all of time and space.
What about you? Are you a Galaxy fan?
This is a sponsored conversation written by me on behalf of Cricut. The opinions and text are all mine.
Leave a Reply