
You have probably seen it around, Cricut Infusible Ink is the hottest new medium to hit the craft scene. It allows you to create items with sublimation printing all in your own house. It is an amazing product that comes out vibrant and soft! Infusible Ink is more permanent than other mediums. It is peel and crack proof! It also looks incredibly professional, even wash after wash. It seems intimidating, but it is actually really easy. Follow along for common questions, a pre-cutting checklist as well as how to prepare your shirt for the ink! Everything you need to know about Cricut Infusible Ink all in one place!
Why Infusible Ink?
Infusible Ink isn’t like heat transfer. You are actually infusing the ink into the shirt. There is no vinyl on top. The shirt will remain incredibly soft. Infusible Ink also outlasts other mediums and it is so so vibrant!
Common Infusible Ink Questions
Can I make the design bigger than my mat and EasyPress? The best results come from only using heat once on a blank. So you should stick to designs smaller than your EasyPress or heat press.
Do I really need to use a lint roller? YES! I know it seems like a silly step, but it makes sure that your ink is going exactly where it needs to.
Do I really need to preheat my blank? Again, YES! This helps get any moisture out of your blank and ready to accept the ink.
Do I need to wait for my blank to cool from my preheating? Yes, as soon as the Infusible Ink gets warm, it will start transferring. You want to make sure that you can move it around a bit and get the position just right.
Why do I need a sheet of Cardstock? So your design doesn’t bleed through to the back of the shirt.
Should I prewash my blanks? No need!
Do I have to use the Cricut blanks? I have had the best luck with the Cricut blanks but make sure you are using an item with an extremely high polyester content.
How do I store my Infusible Ink Sheets? Put them back in the black plastic and back in the original box.
How To Use Cricut Infusible Ink Sheets
You will need:
- A Cricut Maker or Explore
- Standard Mat
- EasyPress 2
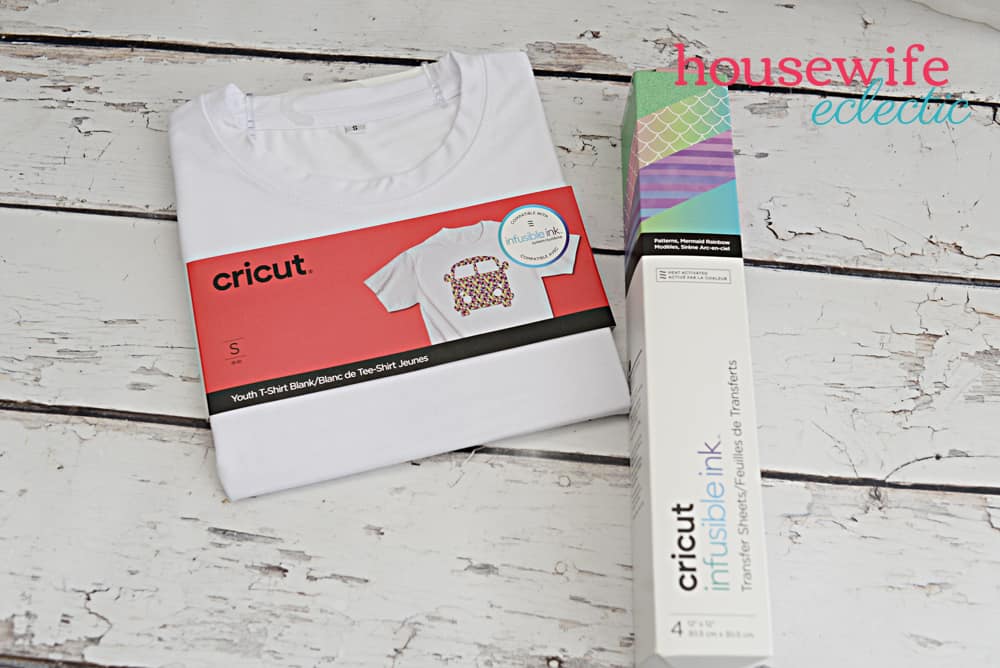
- Cricut Apparel Blank (we used a kids size small shirt)
- Infusible Ink Sheet (we used the mermaid one!)
- butcher paper (should come in your Infusible ink set)
- white cardstock
- lint roller or masking tape
- scissors
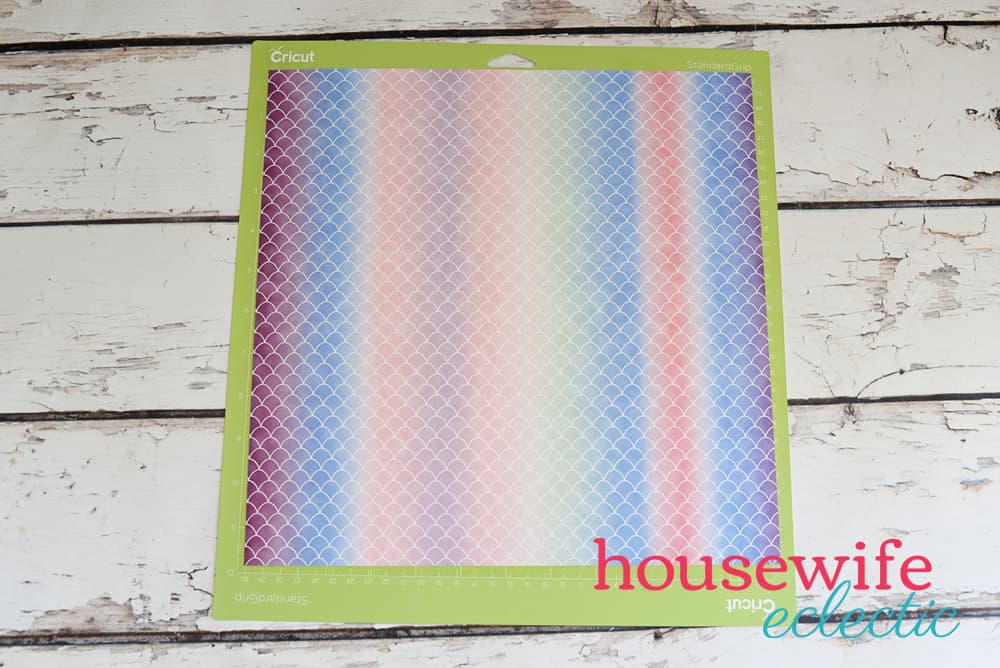
Pull your Cricut Infusible Ink sheets out of the package with clean, dry hands. Place your sheet on a standard mat with the design side up. Cut your design out on your sheet. MAKE SURE TO MIRROR!

Checklist for cutting Infusible Ink Transfer Sheets
- Make sure your design fits on your blank
- Mirror your design
- Select Infusible Ink from the list of materials you are cutting
- Load the fine-point blade to cut.
- Load your mat.
- Press go.

Remove your Infusible Ink sheet from the mat, by flipping the mat upside and peeling it away from the design. Cut the designed area out of your sheet and save the rest for another project.

Gently roll your design around your fingers to “crack” the sheet and make it easier to weed.

Carefully weed your design. Leave anything you want to appear on your shirt. 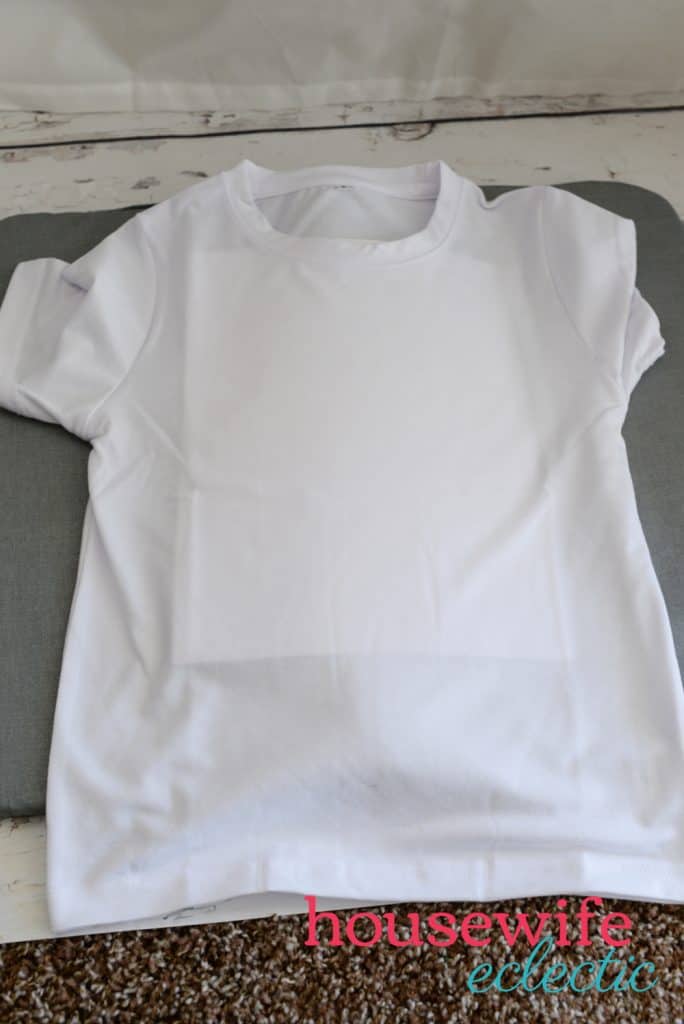

How To Prepare an Apparel Blank for Infusible Ink
- Heat your EasyPress 2 to 385 degrees.
- Put your apparel blank on top of an EasyPress Mat.
- Put Cardstock inside your blank to protect the back of the shirt from receiving the design as well.
- Use a lint roller or piece of tape to go over the entire surface. THIS STEP IS CRUCIAL.
- Cover the blank with butcher paper.
- Preheat your blank for 15 seconds. THIS STEP IS IMPORTANT.
Let the shirt cool down.

How to Infuse a Shirt with Cricut Infusible Ink
-
- Place your design face down. The clear part on top.
- Cover your design with butcher paper.
- Press your design with your 385 degree EasyPress for 40 seconds.
- Slowly lift your EasyPress off the design, trying not to disturb the design or butcher paper.
- Let the project cool.
- Slowly remove the butcher paper and then the liner.


What will you make with Cricut Infusible Ink?
This is a sponsored conversation written by me on behalf of Cricut. The opinions and text are all mine.
Leave a Reply