One of my daughter’s favorite part of back to school is picking out all of her school supplies. This year looks really different from last year, so we decided to make all of the new elements involved in going back to school this year really exciting by customizing all of them to my Narwhal loving daughter.

Back to school looks different for every kid this year, in our state which has limited amount of cases, that looks like hybrid program with students social distancing and wearing masks when in the school building.
This year we customized:
- a new backpack
- a folder
- pencil pouch
- lanyard (to keep her mask on her at all times)
- a mask
- a mask pouch (for an extra mask)
- and a container of hand sanitizer
Normally we also customized a lunch bag and some containers for her lunch bag, but this year her school is only doing prepaid lunches.
custom school supplies
For this project you will need:
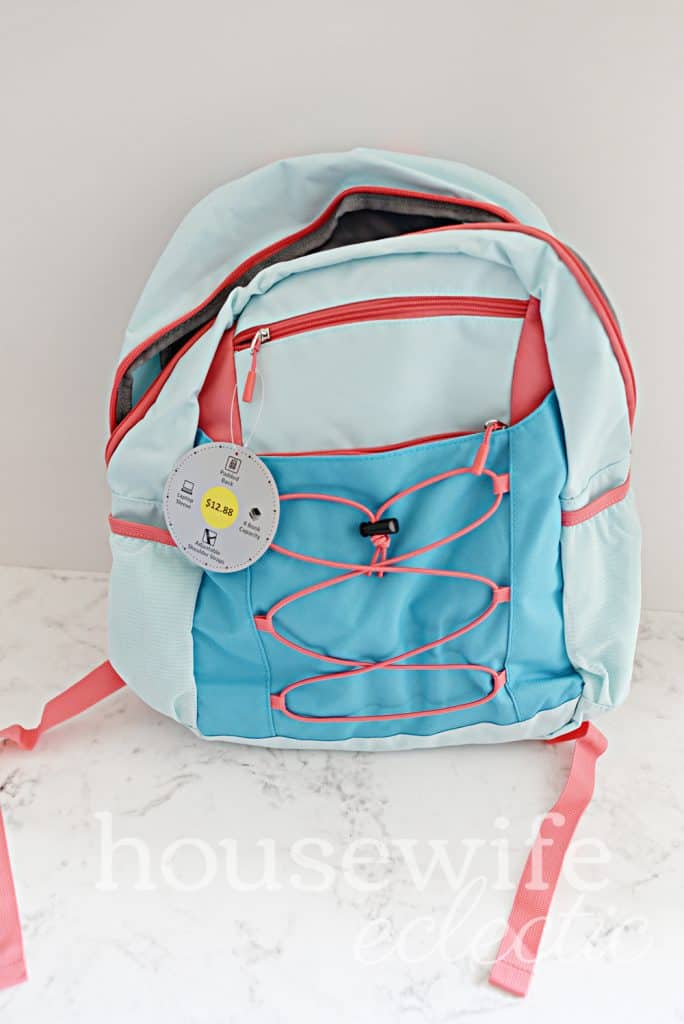
- backpack
- notebooks
- pencil pouch
- a mask
- a lanyard
- a mask pouch
- a folder
- Cricut Narwhal Iron-On
- Cricut Narwhal Vinyl
- Mod Podge
- a Cricut
- Cricut EasyPress or Iron (the mini is perfect for backpacks!)

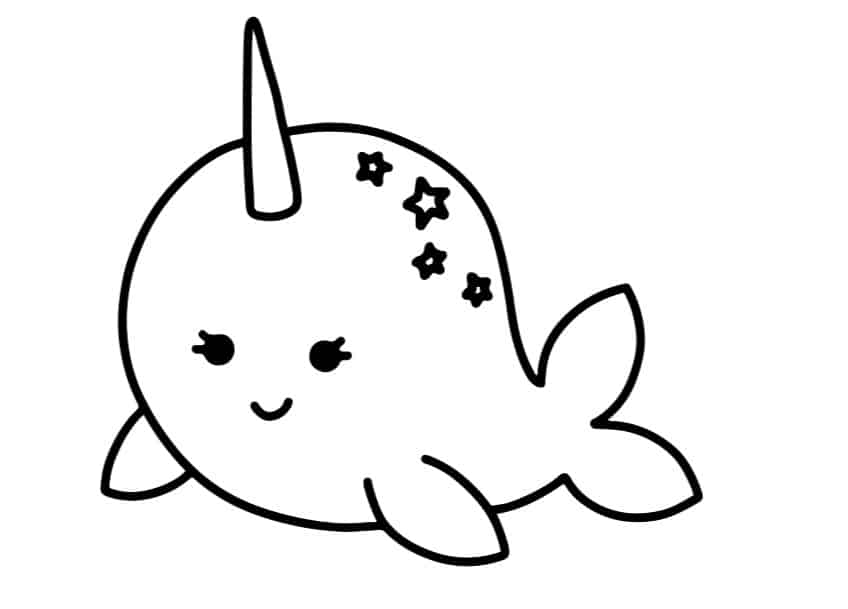
When I was browsing the Cricut Shop pages looking for ideas, I stumbled onto the Rad & Happy Endless Imagination patterns. They feature a sheet of narwhals, one of shells and one of sea horses with horns. They might be my favorite designs that Cricut has ever put out. My 1st grader was so overjoyed with the designs that we had to get them in every material!
I used the same file for each of these projects, I just resized the image to fit what I was working on. I used iron-on for most of the items except the folder.

Open up and sign into Cricut Design Space. Design Space® software for iOS, Android™, Windows®, and Mac® . Your screen will look similar to the above. There will be a top banner, followed by a banner of your latest projects. You can see some of my most recent projects on the screen above. Below that will be the Make it Now projects. Hit the green plus sign next your projects to get started.

Using Cricut Images
Your new project will open up for you as a blank grid. Click on the images tab on the left-hand side of the screen to start this project. Search for Narwhals in the top search bar. Scroll down until you see a narwhal image that you like. Look for the green A that means it is an access image so if you subscribe, it will be free to use!
Resizing
Once you have inserted the image into your project you can resize it and move it around. Resize the image by clicking and dragging on the double arrow symbol that appears when you have the image selected. If you click and drag around your entire design, you will be able to resize it as one item instead of multiple items. There is a size box at the top of the screen that lists how big the image is, you can adjust the width and height here if you don’t want to manually toggle the blue arrow key.
Copy and Paste
Copy and paste your Narwhal multiple times so you can resize it for each element. Select your Narwhal and then right-click and hit copy. Then right-click and hit paste.

Flip your image

For the backpack, I did two narwhals facing each other. For this element you need to flip a narwhal. Select the narwhal and then hit flip on the top menu. You will select flip horizontally to make the narwhals face each other.
Cutting your materials
When your project looks the way you want it, it the Make It button in the top right corner of the screen.
For any projects using iron-on, you will need to hit the mirror image button on the right-hand side.
Place iron on shiny side down on your mat, or vinyl pretty side up on the mat. Select whichever material you are cutting, vinyl or iron on and set the machine to cut.
After your image has been cut, weed the extra off, leaving just your design.
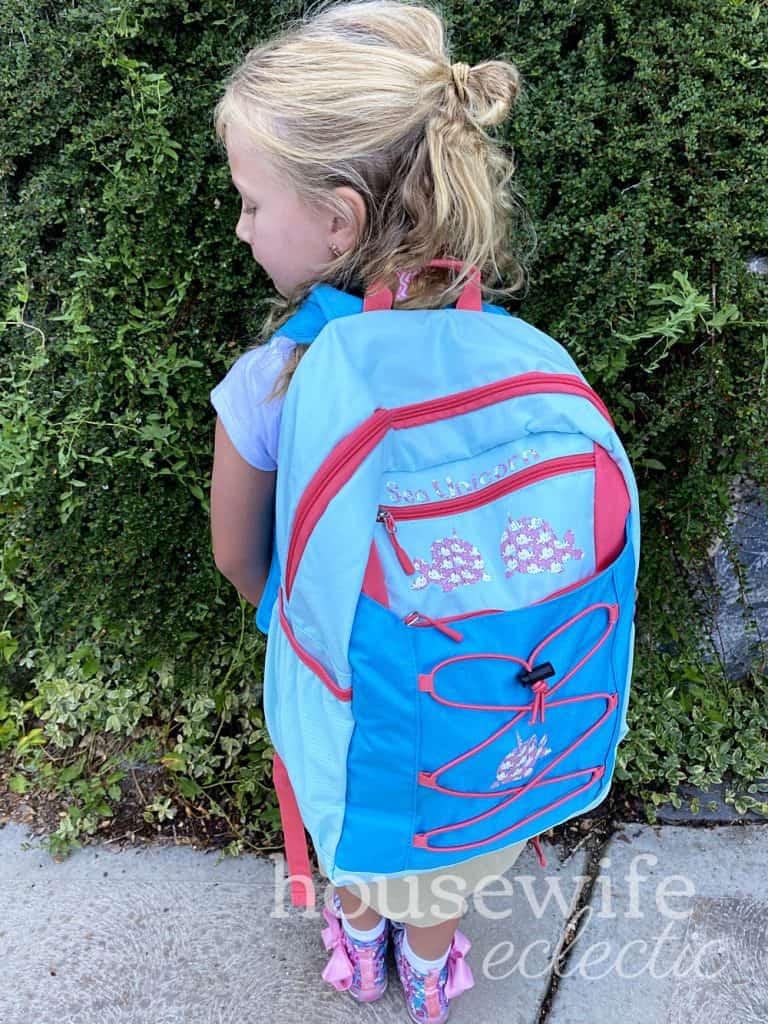
Backpack Customization
The EasyPress Mini is the perfect tool for customizing a backpack. Most backpacks have a plastic lining, so it can make it tricky to customize without melting.
Turn on your EasyPress Mini to the lowest setting and wait for it to heat up. Put a cloth inside your backpack right behind where you will press your image. This will help the layers of plastic from melting together!

For your other vinyl designs, cover them with a piece of transfer tape. Use a credit card or other smooth surface to rub the tape until the design pulls up. Place it where you want it on your object and smooth it down. Slowly peel the tape back, leaving your design.
Iron-on without a Carrier Sheet
The most amazing thing about this Narwhal iron-on from Cricut, is that is is darling all on its own, without any design cut into it.
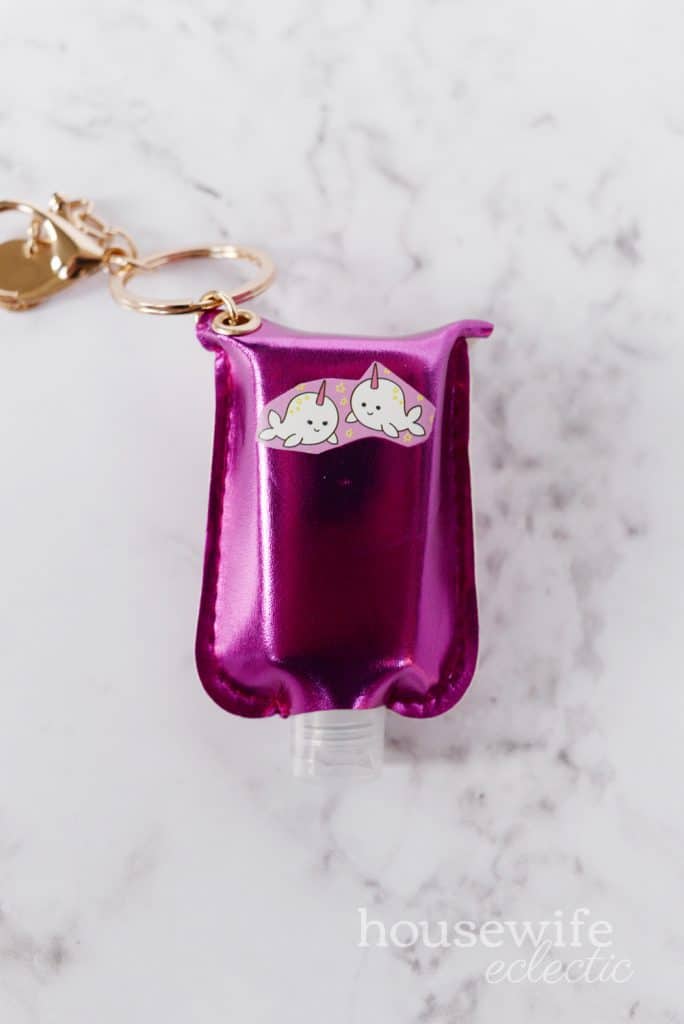
For the lanyard, and the hand sanitizer, I cut out narwhals from my scraps and then ironed them onto these items. I used small nail scissors to cut out the small designs.

Since these were scraps and not part of the larger sheet, they didn’t have a carrier sheet. You need to either grab the carrier sheet from your backpack or a piece of parchment paper and put it over top of the narwhals before you iron them down so they don’t stick to your iron or EasyPress.
The hand sanitizer case operated very much like the backpack. Just make sure that you add a press cloth behind it!
The little tiny narwhals on the lanyard are my absolute favorite! So cute!

How do you customize your kids school supplies?
Leave a Reply