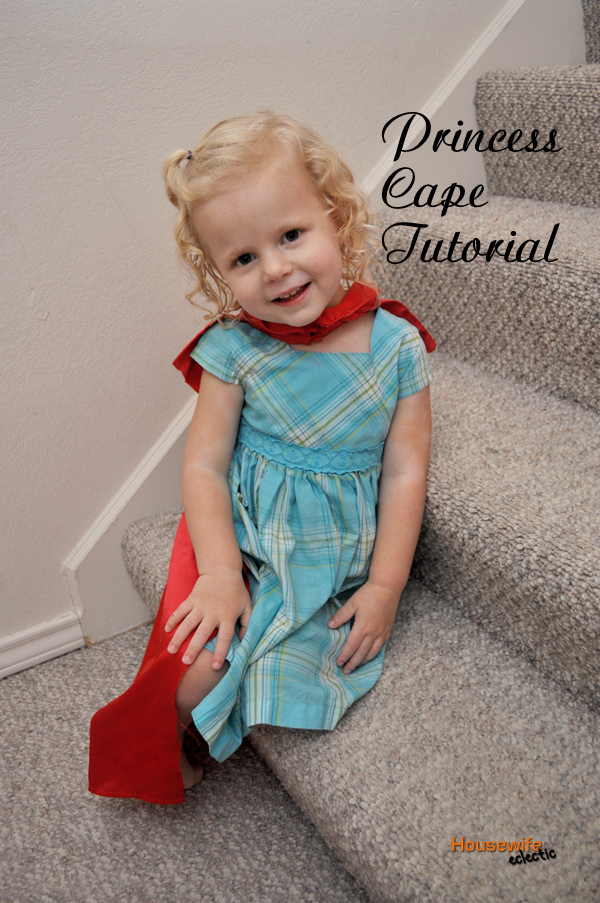
Somewhere along the way, my little girl became convinced that princesses needed capes. Not a super hero cape, but a long silky cape that would twirl when she danced with imaginary princes. I wanted something easy, but I also knew that if it wasn’t something she loved, she would just keep asking. That is when I found this old silk collared shirt. It was perfect for a cape.
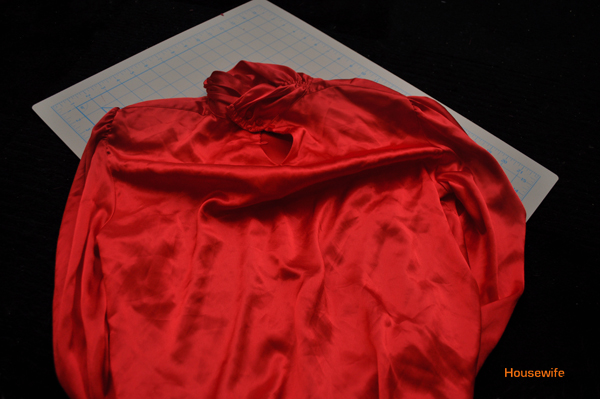
In order to make a princess cape, you will first need to cut off the sleeves and side seams of your shirt. Cut as close to the seams as possible, to make the cape as big as possible.

Then you will need to decide where to cut your shirt in the front. For me, it was most practical to cut the shirt off right at the collar, leaving the buttons on the shirt to fasten the collar when it was all said and done. Now you are just a couple of hems away from a finished cape. I did just a basic hem up both long sides of the cape, trying not to cuss as I went. I have decided that silk type fabric is not my favorite fabric to sew on.

In the end, her cape was finished in about 20 minutes and she was a completely happy girl. Who would you make a princes cape for?

Tips:
- If you are looking for an old shirt to make a cape from, considered an old’s woman pajama shirt. They are often the right texture and many of them have collars.
- Be careful to not snip off your top button. It is what will keep your cape fastened later on.

SO cute and SO smart!
Just to make sure I'm understanding this right… you just cut off the sleeves and the 2 front panels of the shirt, minus the collar part with the top button. Is that right? Because I know of some nieces who will love princess capes. 🙂
How cute is that!! And I know it's a real pain to sew on that stuff – but you did it, and look how pleased she is with her new cape. 🙂
All my little girls have grown up so I really have no one to make one for. But I just had to read your post cuz you've got such a cutie patooie for a model! Simply adorable!