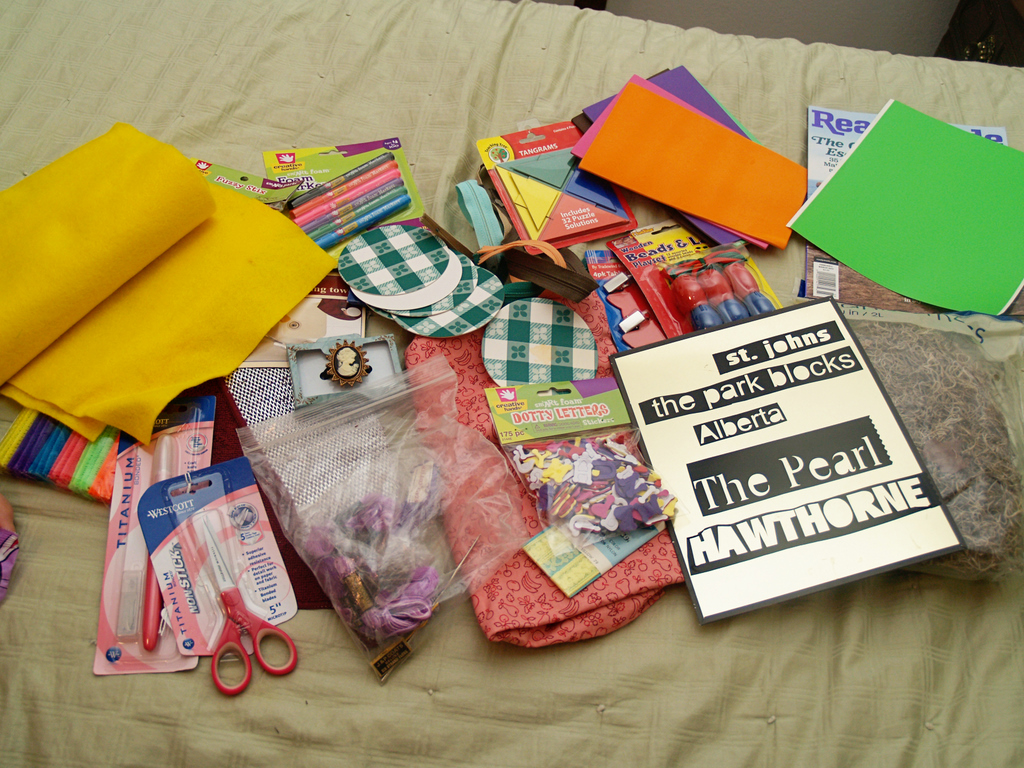
If you follow me on facebook, then you already know that I was selected to be participate in Dollar Store Crafts stashbusting event. Basically, Heather from Dollar Store Crafts sent 10 different people a box of random craft supplies and we have to put together crafts and tutorials from what she sent us. I may or may not have gasped out loud when I found a package from Heather on my doorstep. I am really excited to come up with several crafts over the next week or so featuring some of the items from the box which included fabric, yellow felt, green duct tape, foam letters/sheets and pipe cleaners from Creative Hands and Spanish Moss as well as a crafting knife and scissors from Westcott.
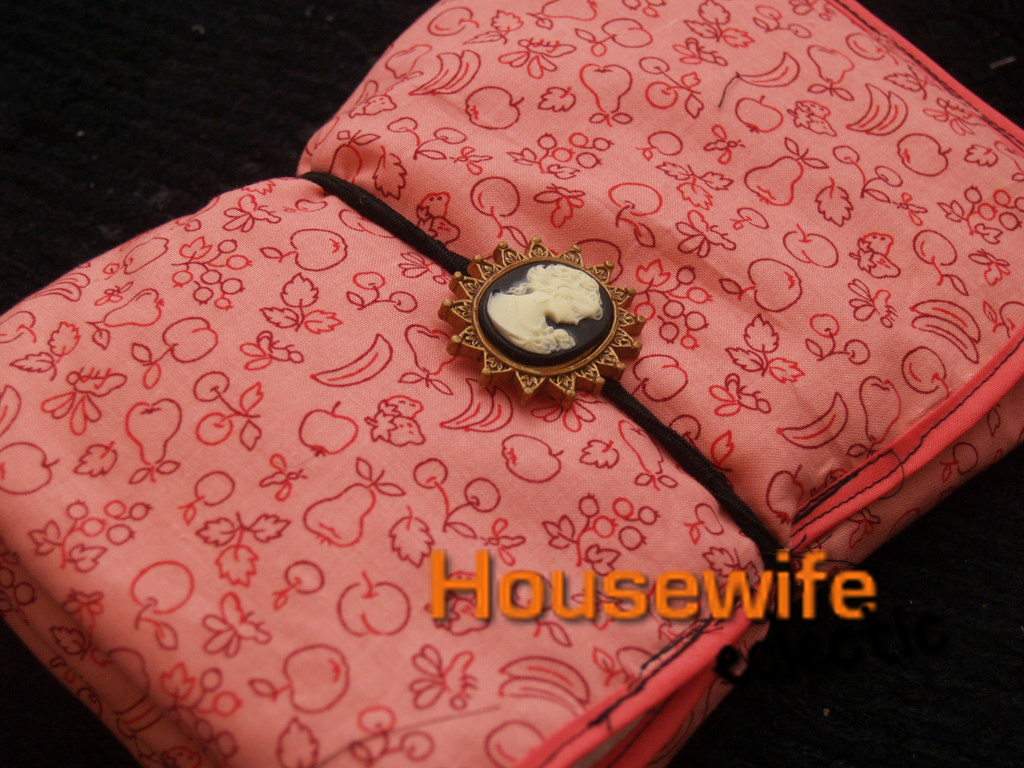
Anyway, without any further adieu here is my first craft using some of my stash busting supplies. This project features the fabric and the cameo hair elastic, as well as some quilted fabric and bias tape that I had in my stash.
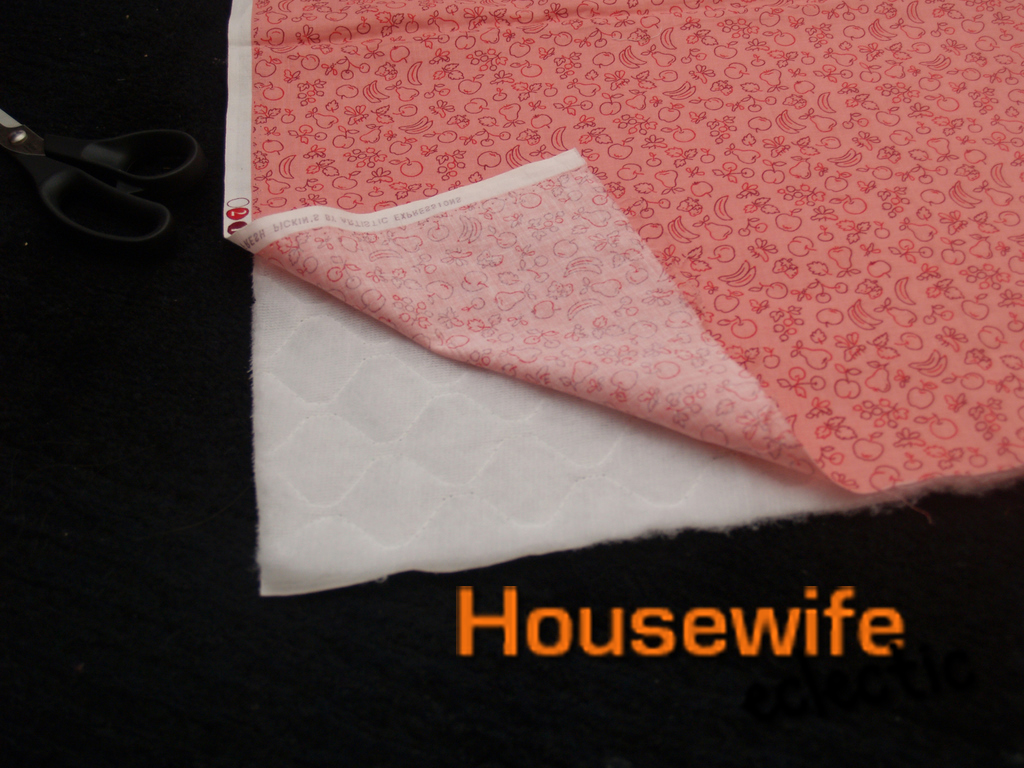
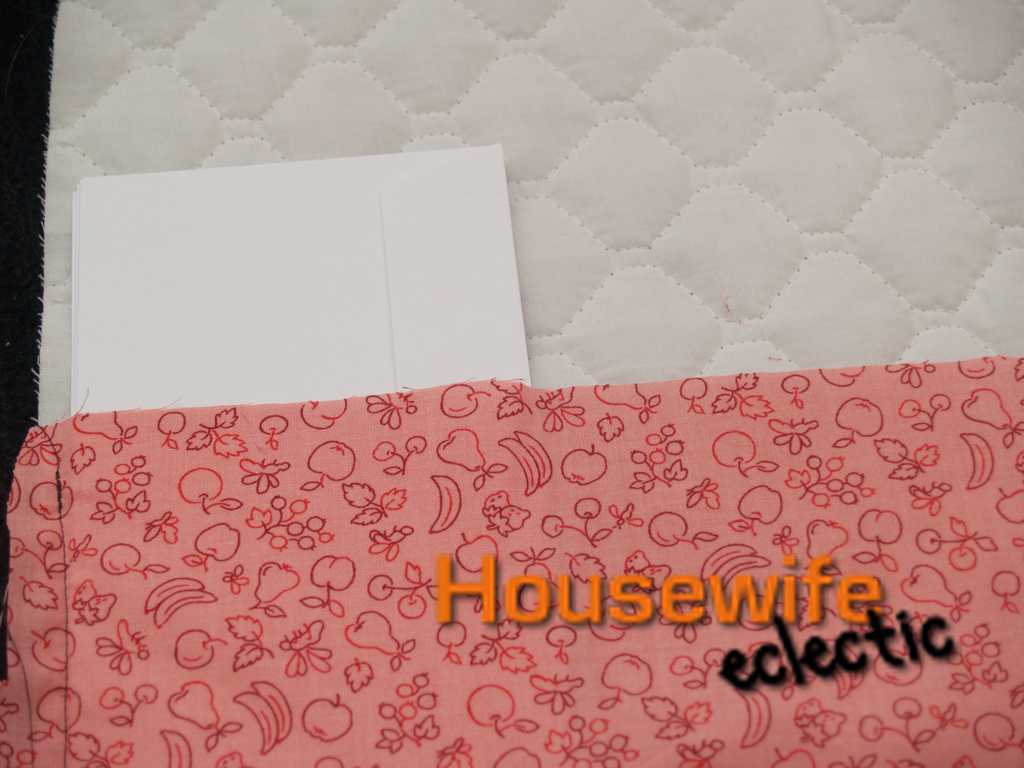
First I cut a piece of fabric and piece of single sided quilted fabric to the same size. I used single sided quilted fabric because I wanted to give the organizer some stiffness.
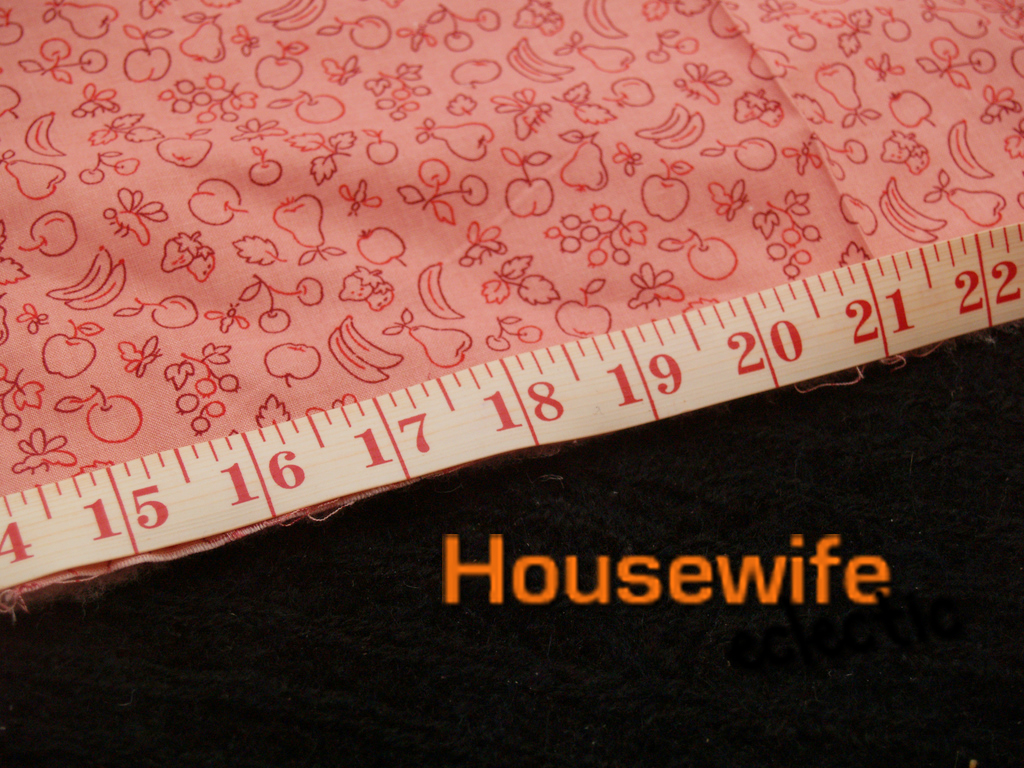
I cut the pieces to 18 inches wide by 13 inches tall.
After those pieces were cut, I set aside the pink fabric piece and cut another pink fabric piece. This piece was also 18 inches wide, but only 5.5 inches tall.

Hem the short piece of pink fabric on one side and then sew it to the quilted fabric on the three side that you did not hem. Make sure your hemmed side is on the top and that you do not sew it down to the quilted fabric.
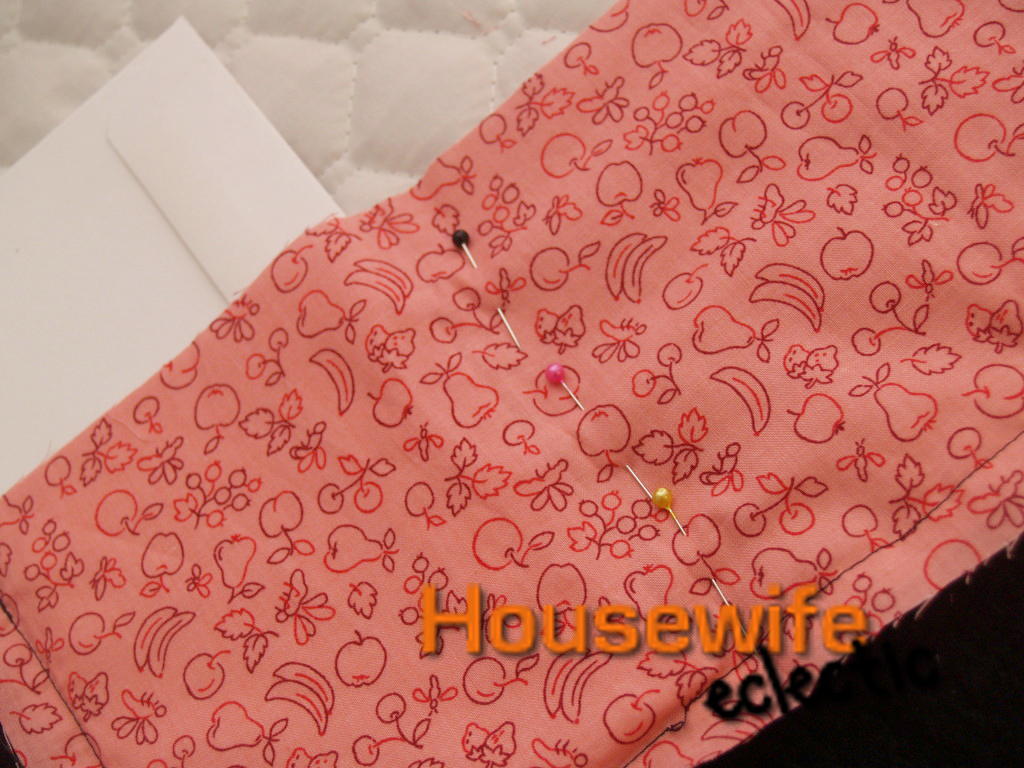
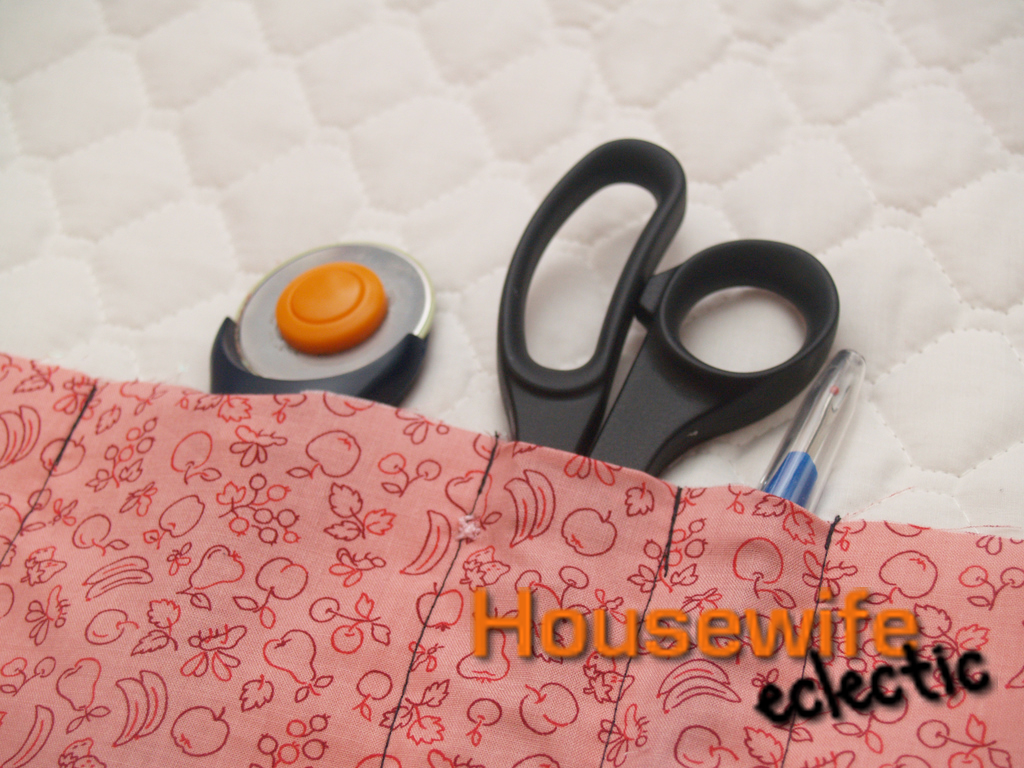
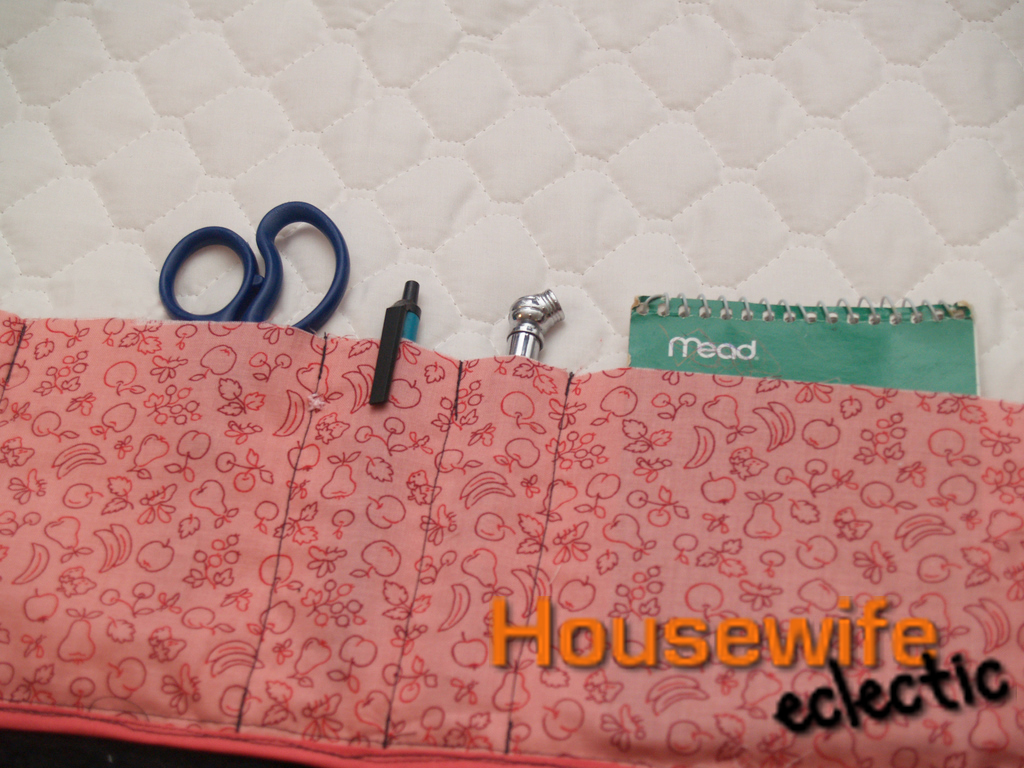
Place an item in your pocket and then pin the fabric down on the other side of it. You are basically trying to see how much room each item will take up so you can make a pocket big enough.
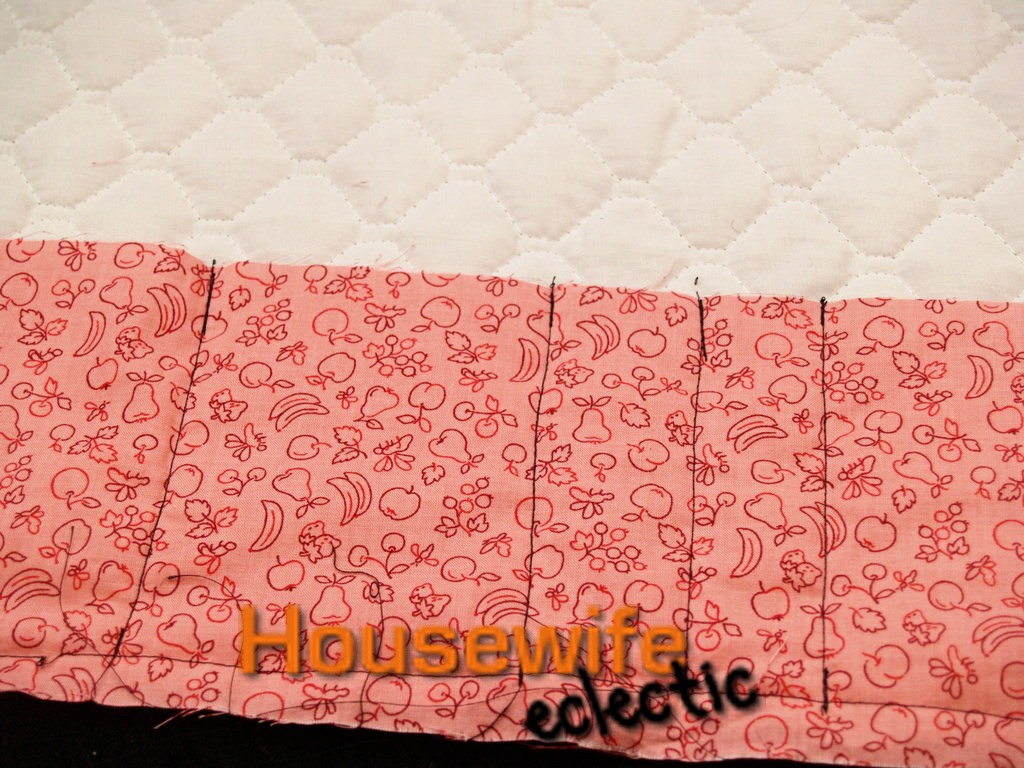
Sew along the lines you have pinned, making little pockets.
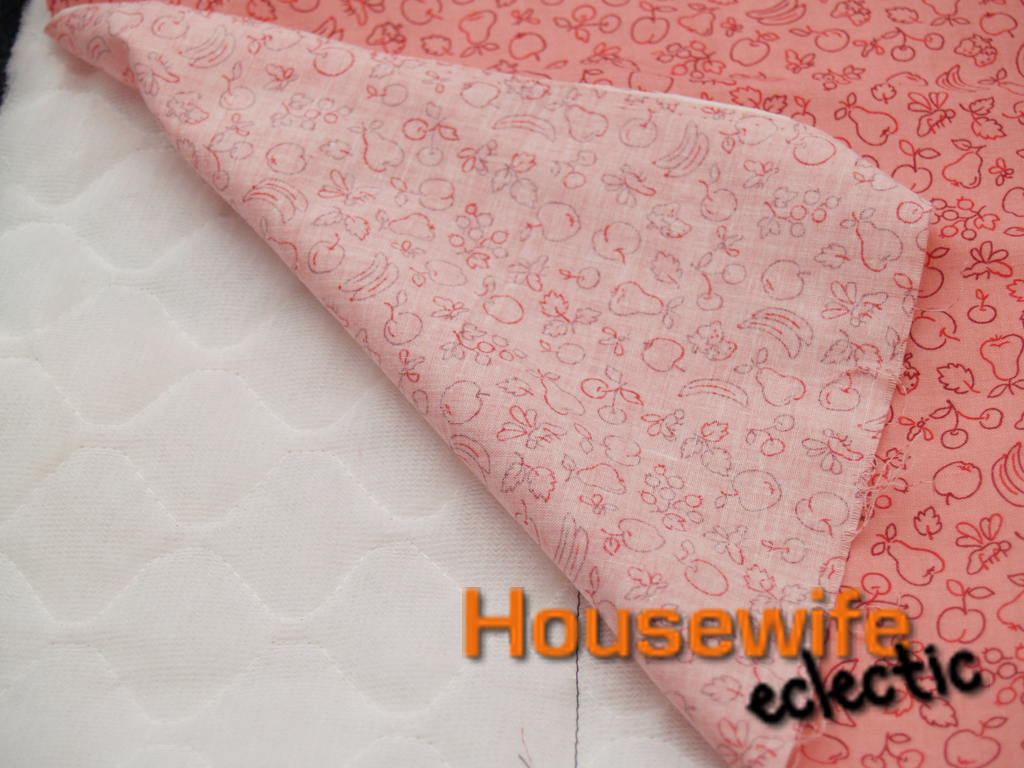
Add you big piece of fabric to the back of your quilted fabric.
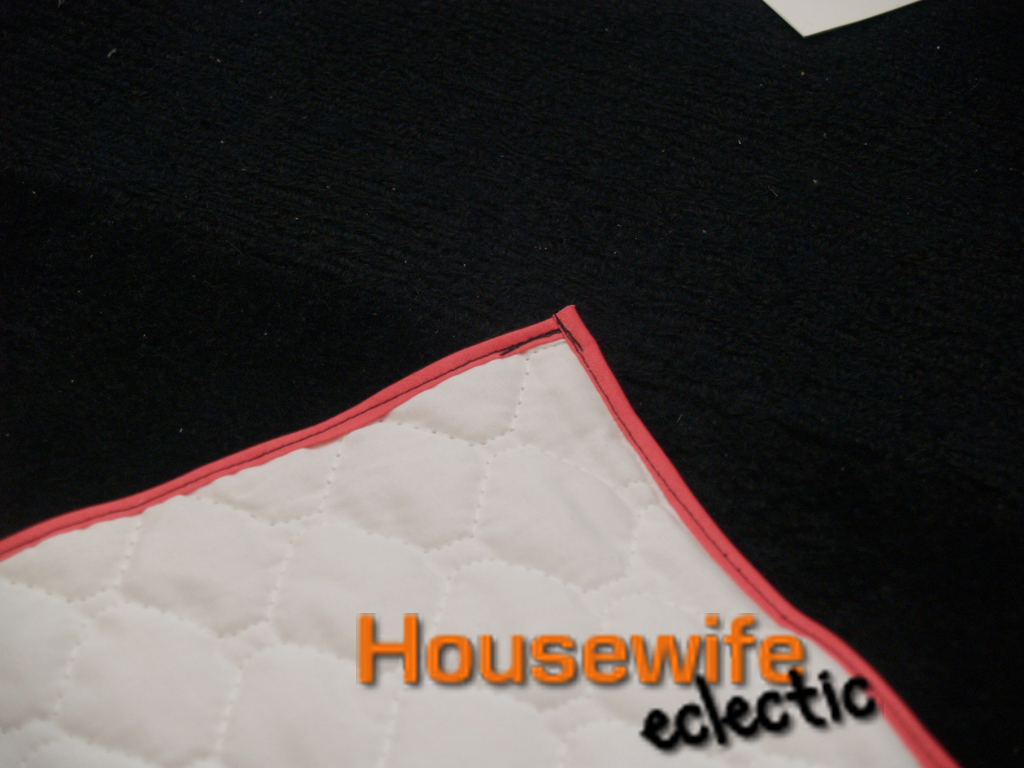
Sew the two sides together, finishing the edge with bias tape. This was actually one of my first times working with bias tape, although I have been working up quite a stash of it. I learned my lesson after some serious unpicking to check and double check that you have caught both pieces of fabric while you are sewing. So learn from my lesson, double check! 🙂
After you have reached this point, you should have an organizer that will look like the one below.
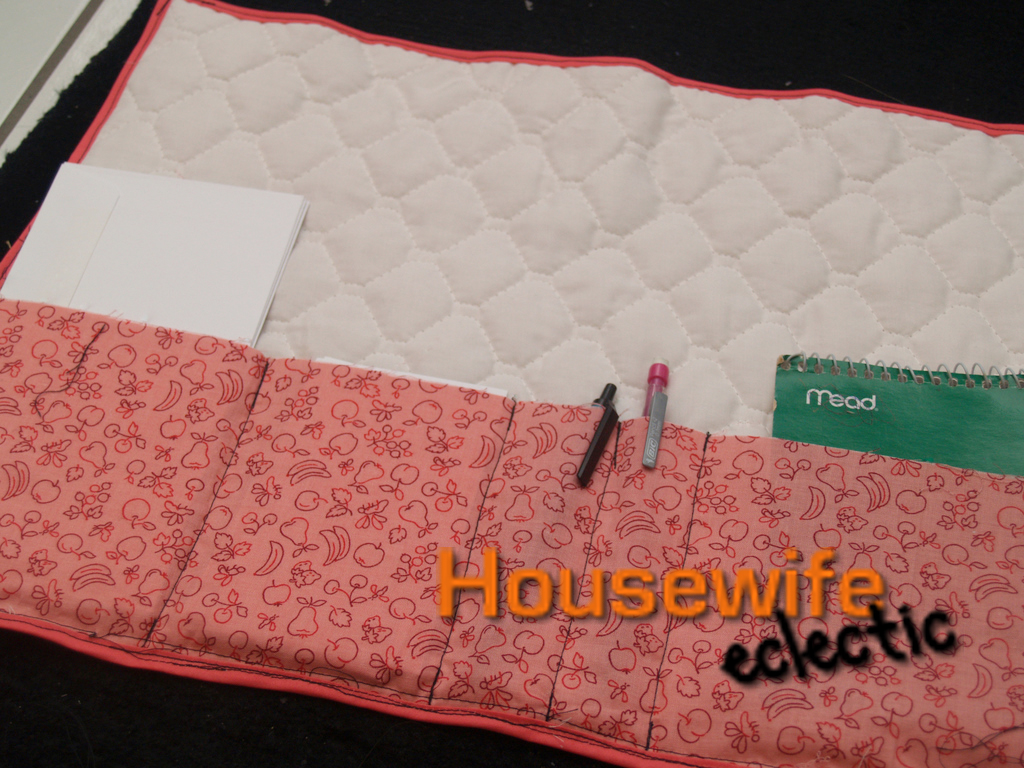
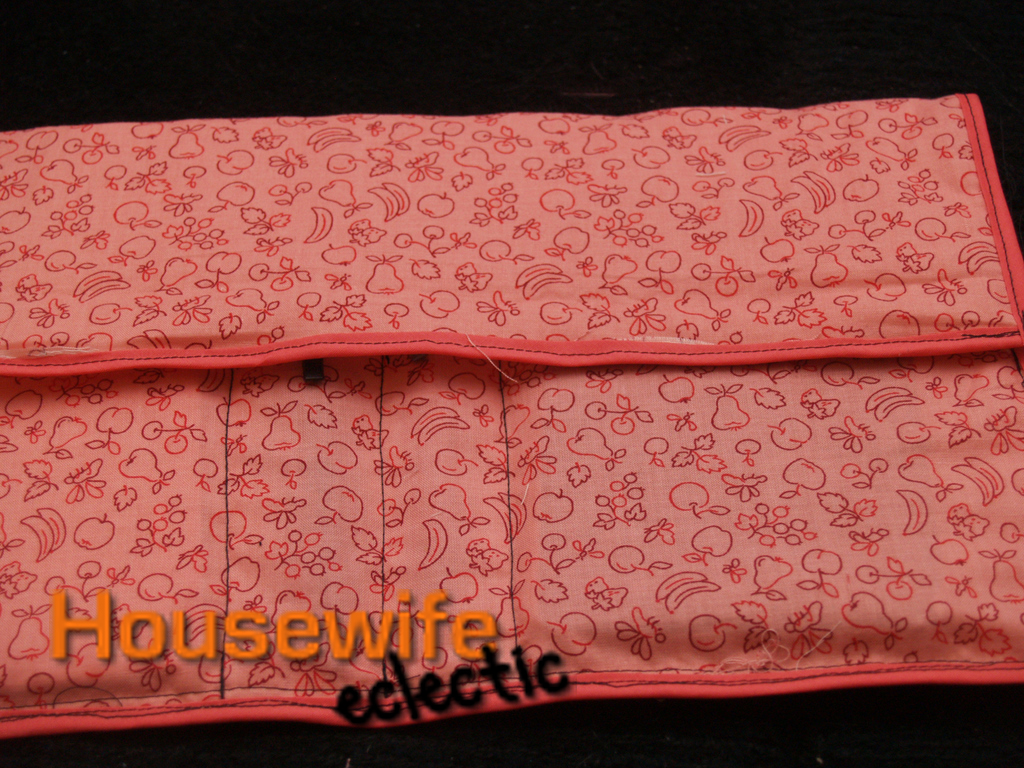
I used a hair elastic to ensure a tight closure of the organizer but you could just as easily sew a piece of ribbon to the back and tie the organizer up. I used embroidery floss and a couple of hand stitches to secure the elastic.

I use my organizer to hold envelopes, stamps and the note cards I use to write letters but it can be used for many different purposes. For instance, you can make it to fit your scissors, rotary cutter, measure tape, seam ripper and other notions for sewing ease.

I like it – great job!
Amanda
wonderful Job, and Great use of items.
I love it. I am SO excited for your whole set of stuff. You rock!
great tutorial!
Super job, can't wait to see the rest.
So cute and practical! Love the hair elastic to close it – what a great idea! Excellent tutorial. Looks like you're going to have a blast with Heather's stash!