
One of the things that I like to do to give myself a fun boost to workout, is create super fun workout clothes! This zombie shirt if hilarious and comfy! The perfect workout combination.
Zombie Apocalypse Workout T-Shirt
For this project you will need:
- a blank shirt
- Iron-on in black
- Iron -on in red
- a Cricut
- Cricut EasyPress or Iron
- Cricut Brightpad
To make life really easy, you can find my cut files here. Follow the instruction below for resizing or creating from scratch.
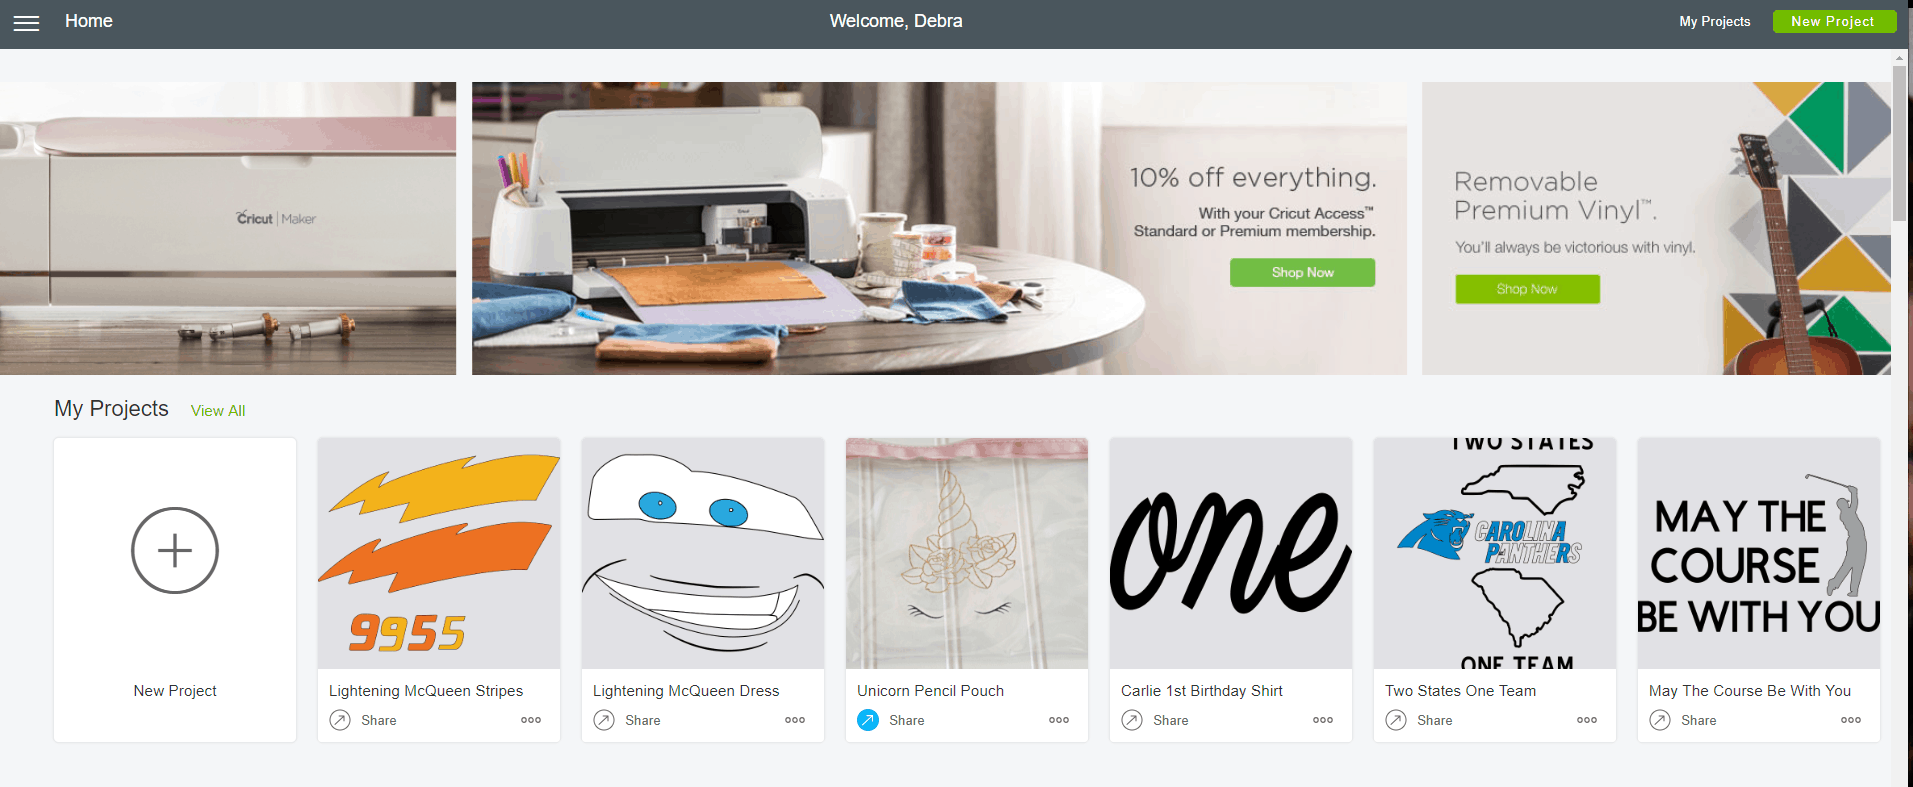
Open up and sign into Cricut Design Space. Your screen will look similar to the above. There will be a top banner, followed by a banner of your latest projects. You can see some of my most recent projects on the screen above. Below that will be the Make it Now projects. Hit the green plus sign next your projects to get started.
Add text by hitting the text button in the far left menu. A text box will pop up and you can type what you want the project to say. For this project, you will type each line in a new text box as follows.
I Work Out
So I Won’t
Be the First
To Die In The
Zombie
Apocalypse. This will allow you to change the size and colors of the different sections.

Font
Change the fonts of each line by clicking on the line and then selecting a font from the drop-down menu in the top left corner. For my shirt, all of the first lines are Cricut Classic, Zombie is Alleycat ICG and Apocalypse is Alleycat Bop ICG.

Resizing
Once you have inserted the text into your project you can resize it and move it around. Resize the image by clicking and dragging on the double arrow symbol that appears when you have the image selected. There is also size box at the top of the screen that lists how big the text or image is, you can adjust the width and height here if you don’t want to manually toggle the blue arrow key.

Resize each line to be 7 inches wide at the top of the screen. This will make them uniform width wise and allow them to be smaller or larger depending on the word amount of each line.
Make It
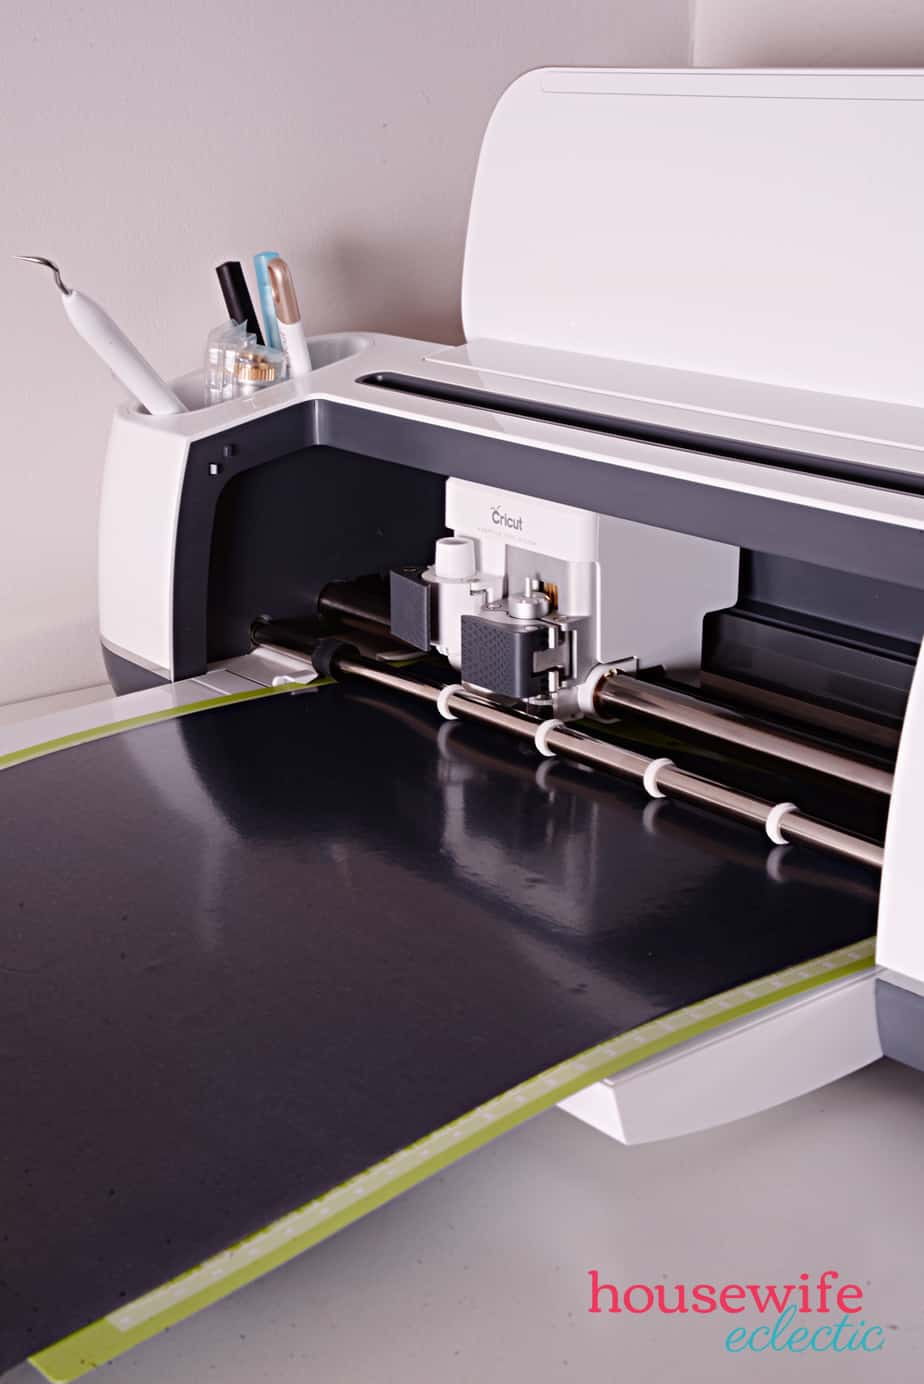
When your project looks the way you want it, it the Make It button in the top right corner of the screen. Hit the mirror image button on the right-hand side, your project will flip on the screen and look backward. Make sure you hit the mirror button on both the red and black mats!

Place the Iron on shiny side down onto your Cricut mat and then load your mat into your machine, spin the dial to iron-on and hit the flashing Cricut button.
You May Also Like: Having Fun Isn’t Hard When You Have a Library Card Shirt
Weeding
Peel the heat transfer off of your mat and then weed (peel apart) the iron on until just your design remains on the sticky backing.
EasyPress
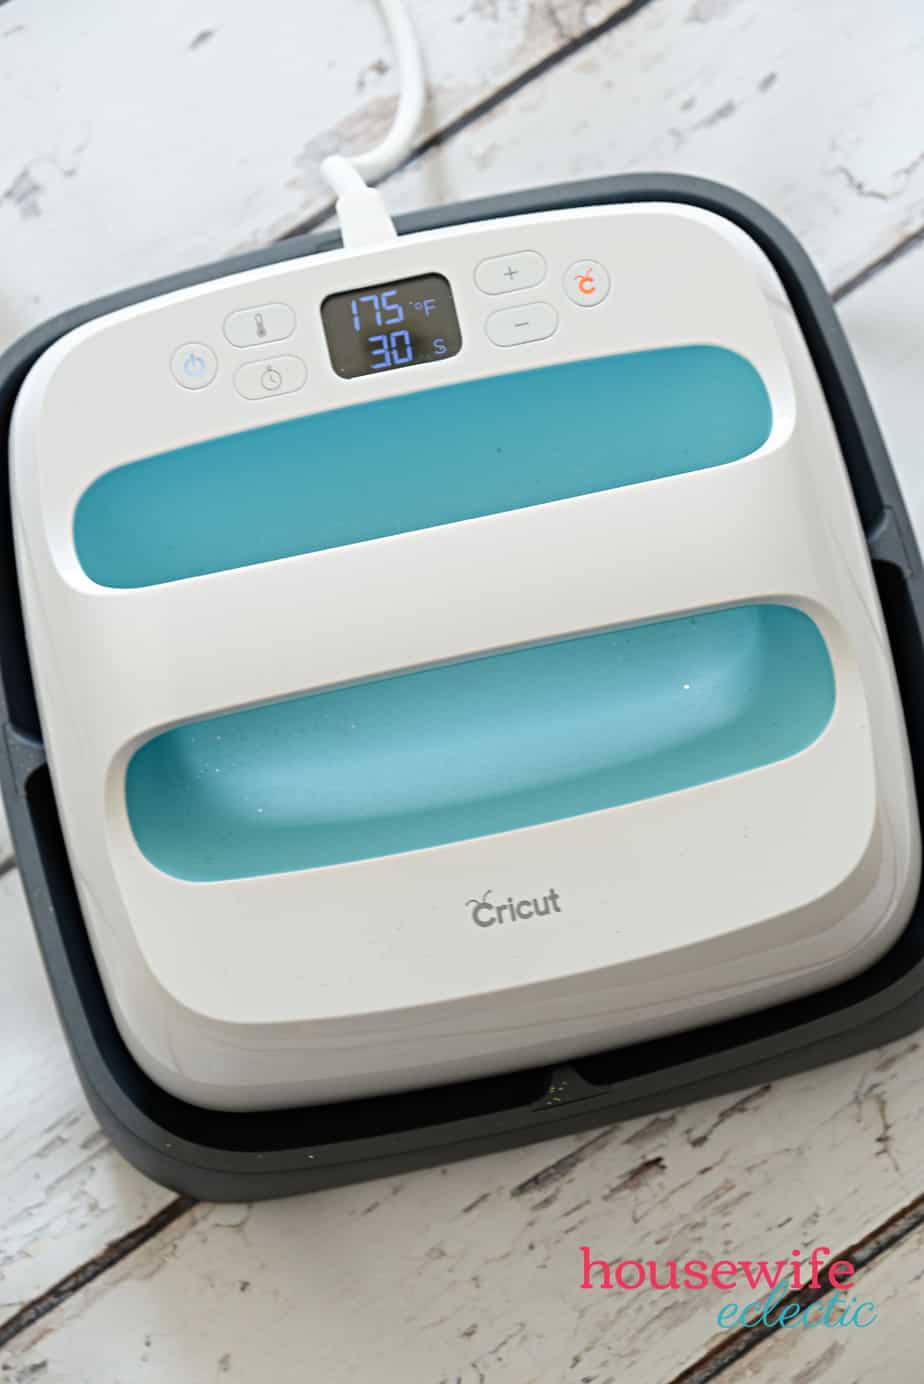
Heat your iron up to the hottest setting or you EasyPress to 305 degrees. Place the black words sticky side down onto your shirt. Iron straight onto the plastic, making sure each element of the design gets 30 seconds of pressure and hit. Start pulling up the plastic backing and if any of the elements pull up at all, put the plastic back down and iron that area again.

Peel the plastic off and then repeat with the red words.

Is there someone in your life that could use a workout boost with this shirt?
Leave a Reply